The Honda Foreman 450 is a remarkable vehicle to have as your first ATV (all-terrain vehicle).
It is an excellent choice for riding in the harshest weather, freezing temp, or worst terrain!
But, no matter how hard you try to keep your Foreman 450 in good shape, it is a matter of time before the rough journey takes a toll on your favorite ATV.
And, the most vulnerable part is the Foreman 450 display. Sun UV burnout, cold, or any other external factors can lead to poor display and hazy screen, Or, sometimes even break it!
If you have a broken Honda Foreman 450 display, don’t go out! Replace it before getting on the road to prevent anyone from seriously getting injured.
Luckily, you are just at the right place. Today, we are going to write down the detailed process of how to replace the honda foreman 450 display all by yourself!
Keep reading to know more!

About Honda Foreman 450 Display
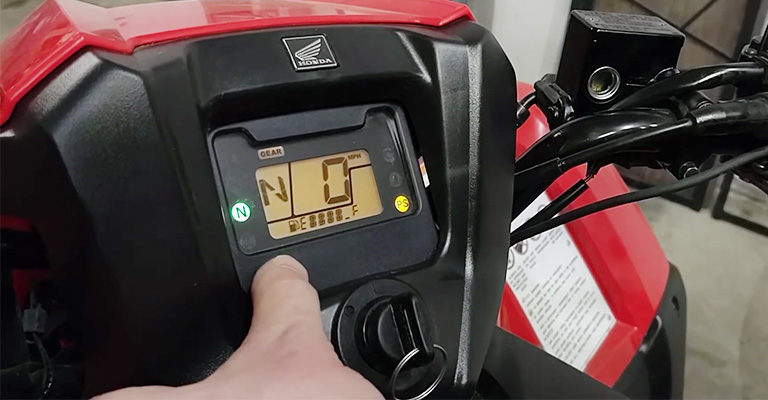
The display on the Honda Foreman 450 is analog and includes basic indicators and gauges. It delivers essential information for the rider’s convenience and safety. You have,
- Speedometer: It shows the current speed of your ATV in miles per hour (mph) or kilometers per hour (km/h).
- Odometer: Keeps track of the total distance traveled by the ATV.
- Trip Meter: Honda Foreman 450 has a trip meter to reset and track distances.
- Fuel Gauge: Indicates the remaining fuel level in the ATV’s tank. It helps you manage fuel consumption and refueling stops.
The display screen in the Honda Foreman 450 provides essential information about your vehicle. It is essential to have a fully functional and clear display screen always.
Now, the display screen may become vulnerable to scratches and dirt. You can regularly clean it off to remove the dirt but there’s no easy way out of a scratchy display but to remove and replace it.
If you can’t do it yourself, it is wise to take the help of a foreman expert. Follow the steps below to know more about how to replace Honda Foreman 450 display.
How to Replace Honda Foreman 450 Display

Equipment you’ll need,
- New Display Unit (compatible with Honda 450 and latest year)
- Screwdrivers, Wrenches, and Pliers
- Socket Set
- Torx or Allen wrench Set (Optional)
- Shop Manual or Repair Guide (Highly Recommended)
Follow the steps below to replace the damaged honda foreman 450 display,
Step 1: Disconnect the Battery
Safety comes first!
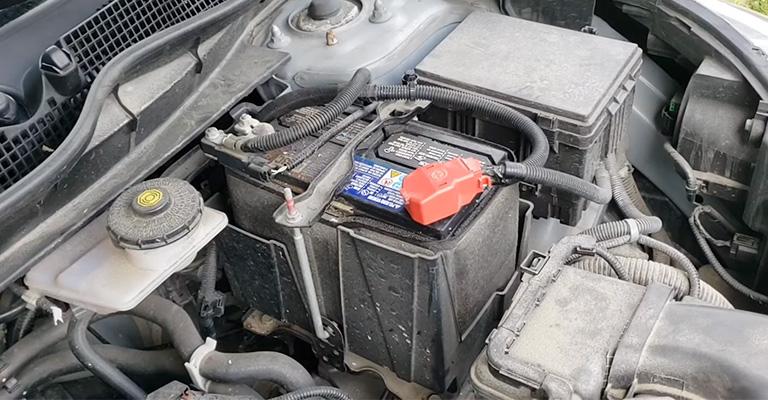
Disconnect the negative terminal of the battery. It will help you prevent any unexpected electrical shorts while you are in the replacement process.
Step 2: Extract the Front Body
More or less, every Honda Foreman 450 has a front body panel. You will need to remove the panels to enter the display area. Follow the 450 owner’s manual for the step-by-step guide to remove the panels.
Step 3: Display Mounting
Now, you have located the display unit on the ATV. It’s not too hard to find, usually mounted on the dashboard or instrument panel.
Next, you have to secure the display in place. Slowly remove any screw, bolt, or fastener.
Step 4: Disconnect the Cables
Be gentle and disconnect any wiring and cables at the back of the display unit. Look closely at the connections and mark the positions.
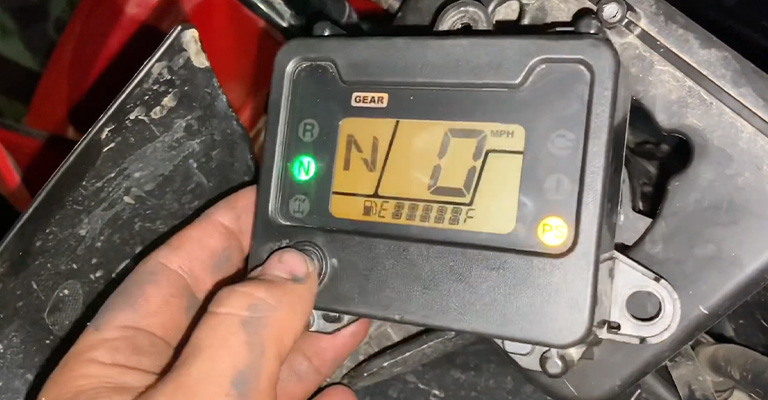
Step 5: Remove the Old Display
Here, Step 5 and Step 6 are two crucial stages in this process. Once you have disconnected the wiring and cables, you should be able to easily remove the old display unit from its mounting.
Step 6: Install the New Display
Place the new display unit in the mounting. Ensure, you have aligned it right and the new display securely seats on the same mount.
Step 7: Re-insert the Elements in Position
Now, the installation is complete. It is time to readjust the elements and connection just like the way it was before. In sequence, you should be doing these,
- Reconnect the Wiring and Cables: Slowly but gradually, reconnect all the wiring and cables to the new display unit. Take help from the note you took in Step 4.
- Adjust the New Display: Use the right screws, bolts, or fasteners to tighten the new display. Check and double-check to mount the new display firmly.
- Re-insert the Body Panels: Follow the owner’s manual to reattach the front body panel in case you had to remove it.
- Reconnect the Battery: Now, reconnect the negative terminal of the battery.
Here are the few steps you need to follow to replace the Honda Foreman 450 display. But we are not done yet!
You might have placed all the elements in the right place. You still have to cross-check to ensure the new display is working fine.
Test the New Display:
Turn on the ATV slowly, and test the new display to make sure it’s working properly. Next, give a second look at all the indicators, lights, and gauges and confirm everything is in place.
Test Ride:
Now, everything is in place. It’s time for the final test. Take your Honda Foreman 450 for a short test ride. It is better to select a good day, not too bright or too cloudy.
And, observe if the display continues to work as expected.
Learn More Honda Foreman 450
Here’s our general guideline to replace Honda Foreman 450 Display. But we highly recommend you follow the owner’s manual that is provided by the 450 foreman.
It will provide detailed insight into elements related to the steps we mentioned here.
Even though the Honda Foreman 450 is a wonderful and cost-effective vehicle for off-road terrains, you will still need guidance from time to time to efficiently drive your favorite ATV.
Keep an eye on our blog section to get regular updates and useful tips on the Honda Foreman series. If you are a new rider, our tips will help you.
Also, don’t forget to share our article with your friends and other foreman users!


