Car radio wiring colors can vary depending on the manufacturer and model of the radio, as well as the make and model of the vehicle. In general, there are a few standard wiring color codes that most vehicles use.
So, what are the colors on the Radio wiring? Here’s a brief mention of some colors on the radio wiring. Black or ground wire, Yellow or constant power wire, Red or accessory power wire, and Blue or turn-on wire. These are a few among others.
In this piece, we’ll discuss the different colors of the radio wiring, the polarity and description of each wire, also the installation of a radio wiring. Ok, let’s dive in.
What Are The Colors On The Radio Wiring: Color Codes & The Components
There are several different color codes used for wiring radio systems in a car, depending on the make, model, and manufacturer of the radio and the vehicle. Watch out this video for details-
Here is a table of common car radio wire colors, along with the type of wire (power, ground, or speaker), the polarity (positive or negative), and a brief description of the wire’s function:
| Colour | Type | Polarity | Description |
| Red | Power | Positive (+) | 12V+ power supply for memory and accessory |
| Yellow | Power | Positive (+) | 12V+ power supply for memory and accessory |
| Orange | Power | Positive (+) | 12V+ switched power for accessories |
| Black | Ground | Negative (-) | Ground wires |
| White | Ground | Negative (-) | Ground wires |
| Gray | Speaker | Positive (+) | Front left + speaker output |
| Violet | Speaker | Positive (+) | Front right + speaker output |
| Green | Speaker | Positive (+) | Rear left + speaker output |
| Purple | Speaker | Positive (+) | Rear right + speaker output |
| Blue/white | Amplifier | Positive (+) | Amplifier output turn on |
| Blue | Antenna | Positive (+) | Antenna powering |
| Light violet | Misc. | Positive (+) | Trigger for reverse gear |
| Brown | Misc. | Positive (+) | Audio mute |
Note that these wire colors and descriptions are based on common conventions. But there can be some variations between different car radio models and manufacturers.
Therefore, it’s best to check the wiring diagram specific to your car radio and vehicle to make sure the wires are correctly connected.
Radio wiring color codes and functions
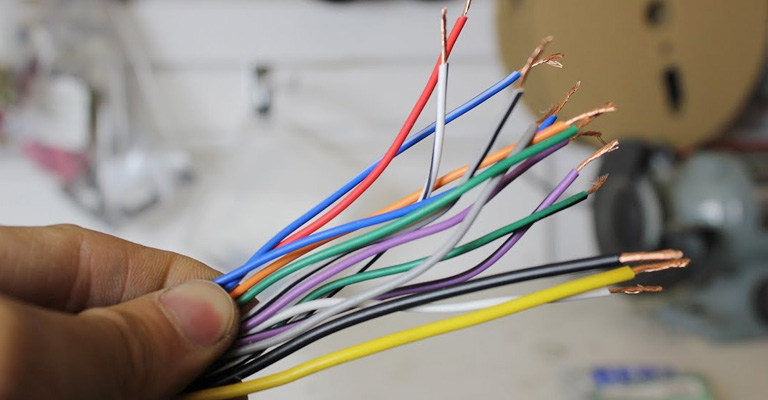
As mentioned above, based on the model and make, the wiring colors differ. Nevertheless, there are some standard color codes for each component of the radio.
Power/Ignition
The car radio power wires provide power to the radio when the ignition is turned on. There are typically two power wires:
- One that supplies a constant 12-volt power source
- Another supplies a switched power source that only receives power when the ignition is turned on
The constant power wire is used to keep the radio’s memory and clock powered even when the car is turned off. And the switched power wire is used to turn the radio on and off. The color of these wires is mostly red, yellow, or another color, depending on the manufacturer.
Ground
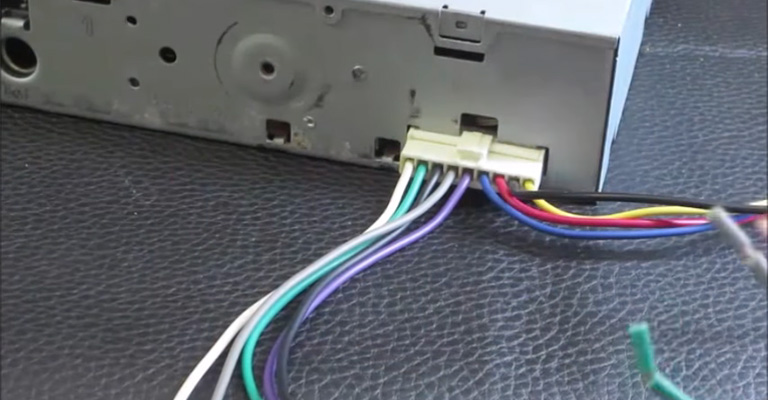
The ground wire gives a connection to the car’s metal frame. And the antenna wire is used to connect the radio to the car’s antenna, which is used to pick up radio signals. The color of this wire is often black.
Speaker
These wires connect the speakers in the vehicle. There may be multiple wires for different speakers, and the colors of these wires may vary. But common colors include green, white, and purple.
Antenna
This wire provides a good connection for the radio antenna. The color of this wire is often blue or white.
Illumination
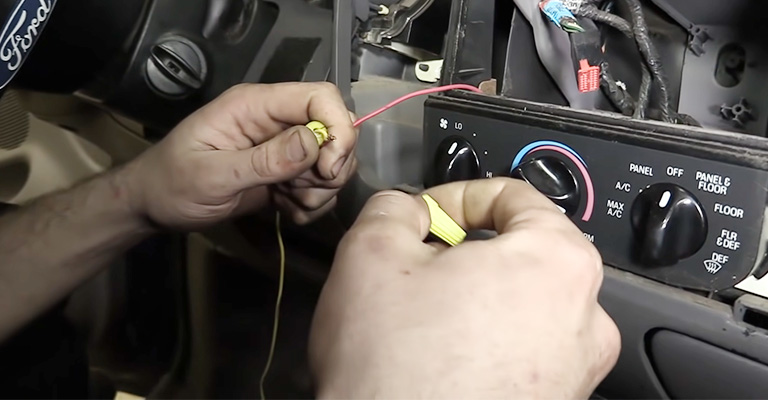
The illumination wire is used to power the radio’s display and controls. This wire allows the radio’s display and controls to be dimmed or turned off when the car’s headlights are turned on. The color of this wire is often orange or brown.
Remote/Amplifier
This wire provides a smooth connection for an external amplifier or other remote devices. The color of this wire may be pink or blue.
Functions Of The Radio Wire
Here is a general guide to the wire colors and their functions in a car radio wiring harness:
- Black or ground wire: This wire is connected to the chassis or metal frame of the vehicle and serves as a ground for the electrical system.
- Yellow or constant power wire: This wire provides a constant power supply to the radio, even when the ignition is turned off.
- Red or accessory power wire: This wire provides power to the radio when the ignition is turned on.
- Blue or turn-on wire: This wire tells the radio to turn on when the ignition is switched on.
- White or left front speaker wire: This wire is connected to the left front speaker.
- Gray or left rear speaker wire: This wire is connected to the left rear speaker.
- Green or right front speaker wire: This wire is connected to the right front speaker.
- Purple or right rear speaker wire: This wire is connected to the right rear speaker.
It’s important to note that these are just general guidelines, and the actual wiring colors may change because of variations in vehicles and radio manufacturers.
Therefore, refer to the wiring diagram for your radio and follow the guidelines specific to your vehicle to ensure that you are connecting the wires correctly.
Identify Aftermarket Car Radio Wire Colors
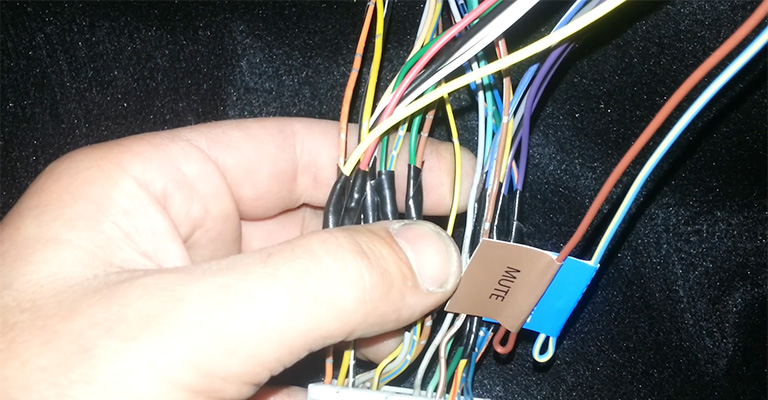
Aftermarket car radios have different wire color codes than the factory-installed radios that they are intended to replace. This can make it difficult to identify which wires to connect when installing an aftermarket radio.
However, some general guidelines can help you deduce which wires to connect.
- Refer to the wiring chart that came with your aftermarket radio. Many aftermarket radios arrive with a wiring chart that shows the corresponding wire colors for every function (power, ground, speaker, etc.).
- Use a wiring harness adapter. These are available for a wide range of vehicles and can make it much easier to connect an aftermarket radio. The harness adapter typically has labeled wires that correspond to the wires on the aftermarket radio, so you can easily connect the correct wires.
- Use a voltage tester to identify the function of each wire. This can be a useful method if you do not have a wiring diagram or harness adapter. To use this method, you’ll need to turn on the ignition and turn on the radio to access the wiring behind the dashboard.
Then, use a voltage tester to touch each wire and see what function it performs. For example, you may find that a certain wire supplies power to the radio when touched by the voltage tester.
Installation Of The Radio Wiring Harness
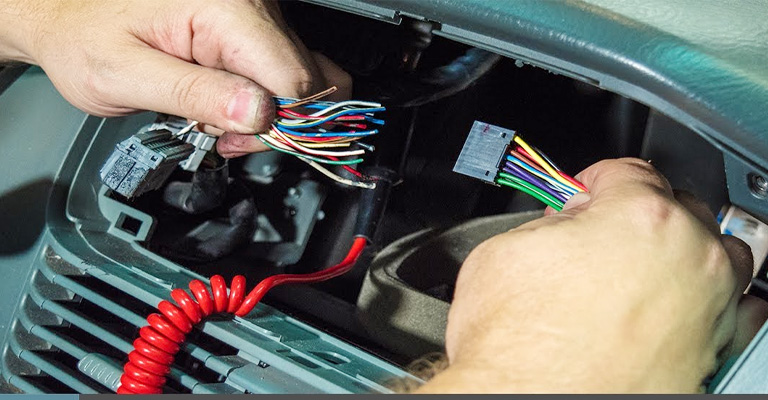
Installing a car radio wiring harness involves connecting the wiring harness of the new radio to the wiring harness of your car. Here are the general steps for installing a car radio wiring harness:
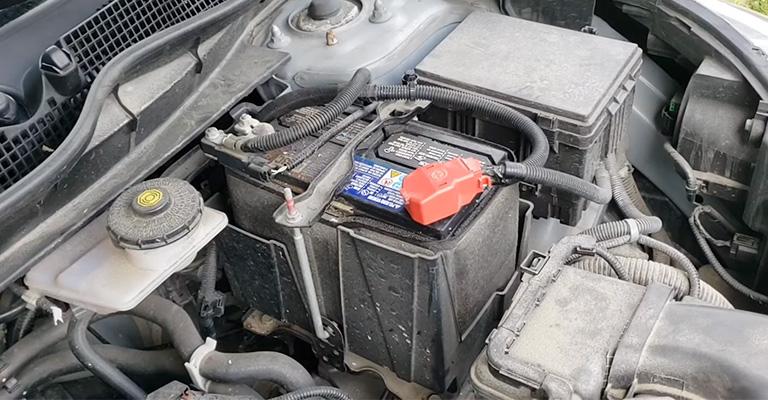
Step 1. Disconnect or detach the negative terminal of the car’s battery to prevent any electrical accidents while working on the car’s electrical system.
Step 2. Remove the dashboard trim, panels, and any other parts that are in the way of the radio. This may require the use of a panel tool or screwdriver.
Step 3. Locate the factory radio wiring harness, which is typically behind the radio or in the dashboard.
Step 4. Disconnect the wiring harness from the factory radio by pressing the release tab and pulling the connectors apart.
Step 5. Connect the radio wiring harness that came with the new car radio to the wiring harness of your automobile. Ensure that the wire colors correctly match up. But it’s always best to consult a wiring chart for the specific vehicle and wiring harness to ensure that the correct wires are connected.
Step 6. Secure the new radio in the dashboard using the mounting brackets and screws that came with the radio.
Step 7. Reconnect the negative terminal of the car’s battery.
Step 8. Switch on the ignition and test-run the new radio to make sure it is working properly.
Keep in mind that the specific steps for installing a car radio wiring harness may not be the same for all vehicles. There may be some differences in the radio type, as well as the wiring harness that is being used.
If you are unsure about any of the steps, it’s always best to consult a professional mechanic or refer to the installation instructions that came with your car radio wiring harness. You can also watch out this video for more clarification on this purpose
Conclusion
The wiring colors for a car radio can differ depending on the manufacturer and model of the radio, as well as the make and model of the vehicle. Hence, it’s important to refer to the wiring diagram for the specific radio and vehicle to ensure that the wires are correctly connected.
Some common wiring colors include black for the ground wire, red for the power wire, yellow for the accessory wire, orange for the illumination wire, and others that have been discussed in the article. Consult a professional if you cannot install it.


