A number of reasons can lead to the conclusion i.e. resetting the ECM of your Rancher.
The Engine Control Module (ECM), being one of the most essential parts of your Rancher, can often be in distress and need a resetting.
When this happens, you would need to identify what’s going on and solve it to level up the performance.
Now, it might be okay with professionals as they have previously done this multiple times. But as a beginner, you might struggle to know how to reset the honda rancher ECM.
Let’s figure it out today!
Why You Need to Reset Your Honda Rancher ECM
Honda Rancher ECM reset can be led by plenty of factors. Before we dive into how to reset your Honda Rancher ECM, let’s find out why and when you need to reset your Honda Rancher ECM.
1) Clear Out the Error Codes
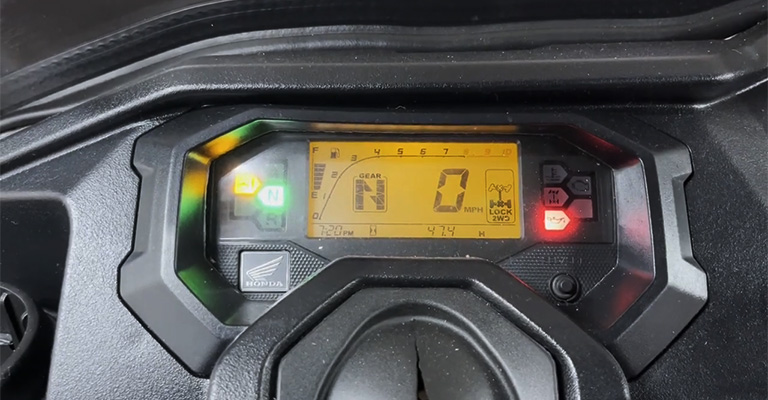
Is your Rancher’s check engine light flashing for no reason? Then, it must be a sign of a stored error code in the control unit.
By resetting the ECM, you can clear out the code. And if the light still keeps on, it means there is an underlying issue going on with the engine that needs attention.
However, in most cases, once you reset the ECM, the check engine light issue will resolve itself.
2) Optimize & Improve Performance
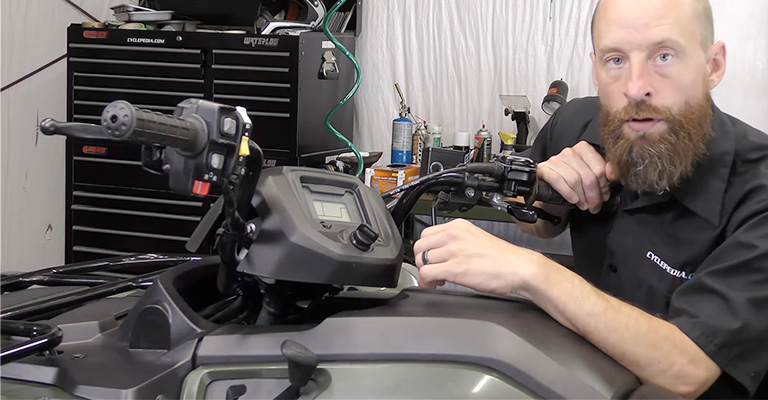
Do you know? Over time, the ECM adapts to the driver’s driving habits and the condition of the engine.
So, if you are changing hands or bought a second-use Rancher from your friend, resetting is a must to bring back the engine to its starting point.
It can potentially improve performance and fuel efficiency. And gradually adjust to your driving nature.
3) Recalibrate & Adjust
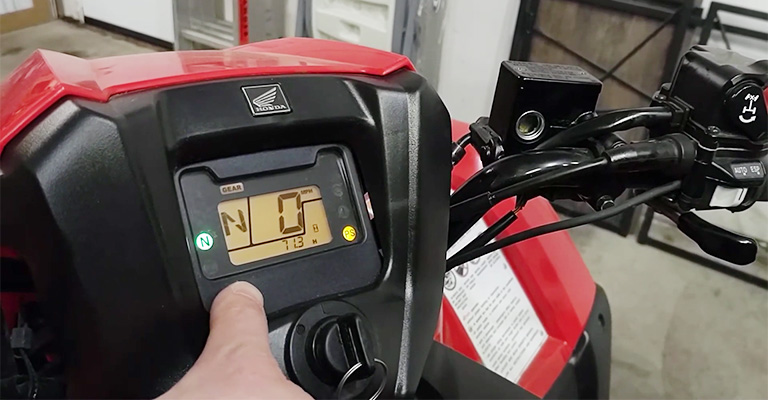
Have you recently upgraded your ATV? Repaired or replaced any sensor or exhaust component? Then, it is time to reset the ECM as it will help you recalibrate and adjust to the new modifications of your vehicle.
Without resetting, you may have a jerky ride and issues coming back in your ATV.
Here are a few reasons why and when you should be resetting your Honda Rancher ECM. In the next chapter, we will have answers to, how do I reset my Honda Rancher ECM?
How Do I Reset My Honda Rancher ECM?
It requires a few simple steps to reset the Honda Rancher ECM. Here’s what you have to do,
Precautions
Before you start to reset, here are two precautions you must take to be on the safe side,
- Place your Rancher on a plain and stable surface.
- Turn off the ignition and remove the key.
Now follow the steps with us,
Step 1: Disconnect the Battery Terminals
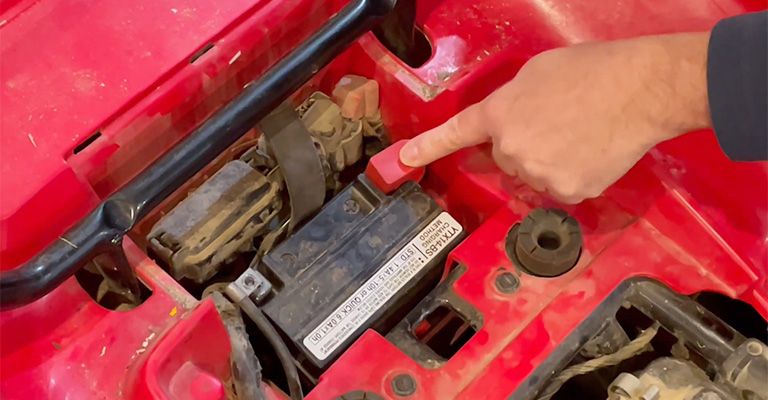
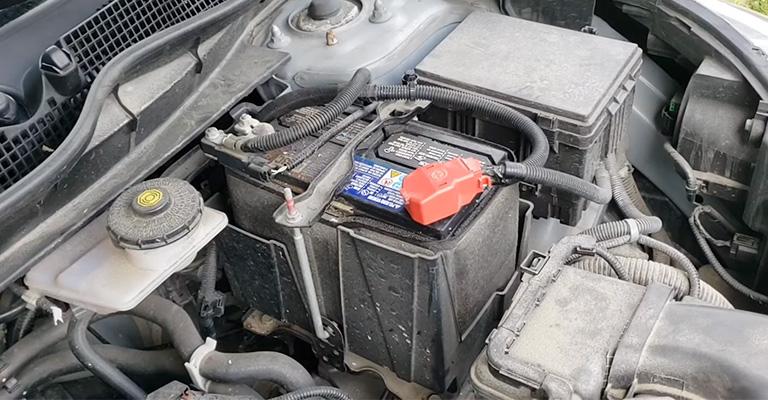
Start by carefully disconnecting the negative terminal of the battery. Open the hood and locate the battery.
The negative terminal is usually marked with a “-” symbol. Use a wrench to lose the nut and slowly remove the terminal from the battery post.
Note that, the terminal shouldn’t come into contact with the battery post while working.
Step 2: Drain the Residual Charge
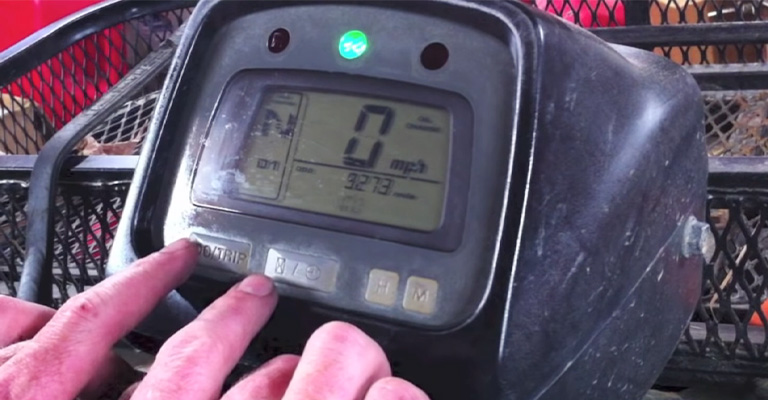
Let it be! Leave the “-” terminal open for 15-30 minutes. It is important to allow any residual charge in the vehicle’s electrical system to dissipate fully. Otherwise, resetting the ECM might not be successful.
During this time, don’t involve any electrical components of the vehicle. Rather, use this time to clean the battery. You can use baking soda, water, or simply a cleaning agent to wipe it.
Step 3: Establish Reconnection
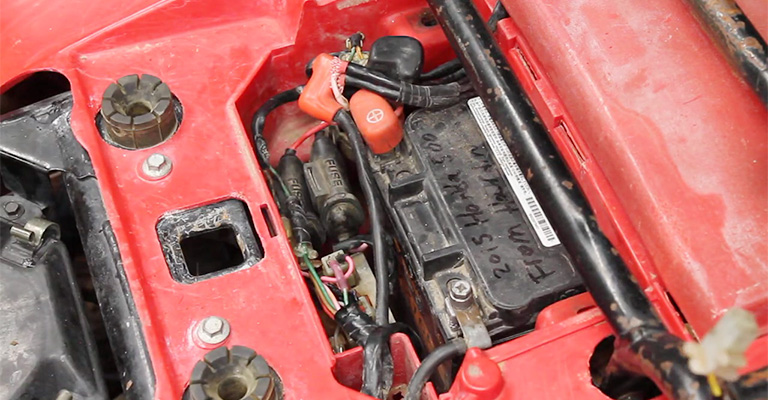
After 15-30 minutes of the waiting period, carefully place the negative terminal back onto the battery post. Use the wrench again to tighten the nut.
It is known as the soft reset. You do it by completely draining the ECU of power and it ultimately loses its memory.
Step 3(1): Alternately Remove the ECM Fuse
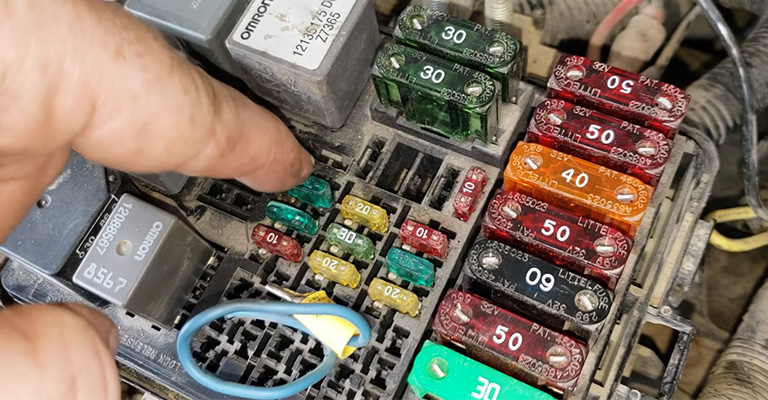
Many ATV owners perform this trick! Besides disconnecting the terminal battery, they also remove the ECM fuse from the apartment.
A question may arise in your mind, how long should you keep the fuse out of the box? It doesn’t matter whether you go with a soft reset or detach the fuse box completely.
Note down! Don’t leave the fuse box out for too long. You can, at most, take 10 seconds to 15 minutes. But never more!
Step 4: Test Your Rancher
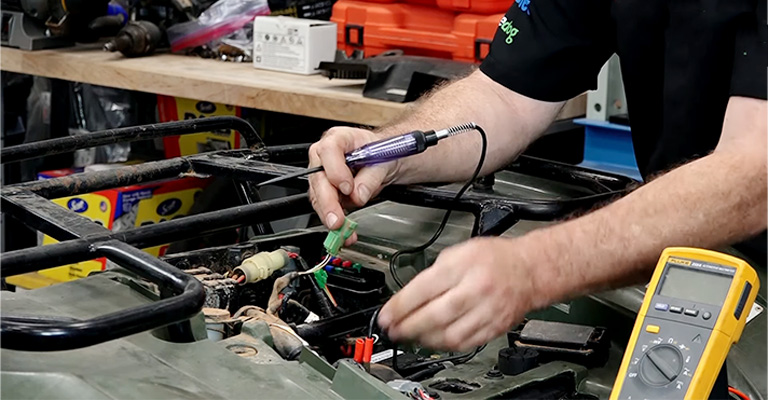
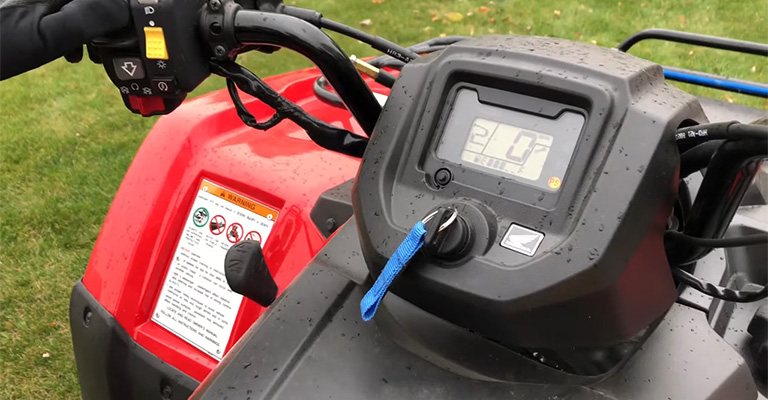
Now, it’s the testing period! Enter your Rancher and insert the key into the ignition. Turn the ignition key to the “ON” position, but do not start the engine.
Again, take a few minutes to settle the ATV’s electronics.
Step 5: Drive The Rancher
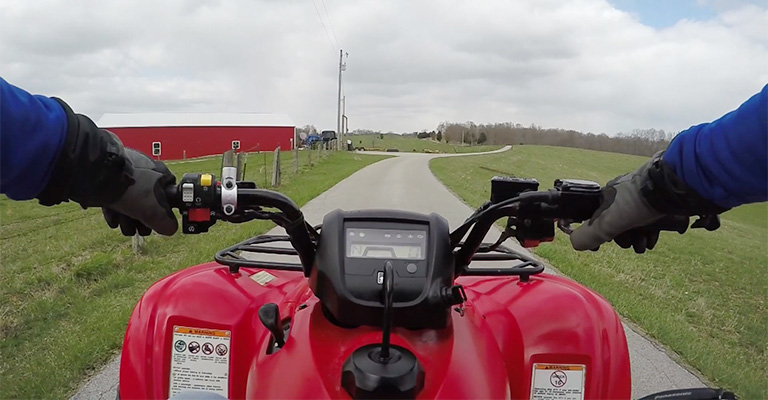
Now, slowly start the engine and let it idle for a few minutes. Take the vehicle for a short drive.
No problem running into different driving conditions such as city streets and highways. This way, you will have your ECM relearn and adjust to your driving habits.
Step 6: Look for Error Codes
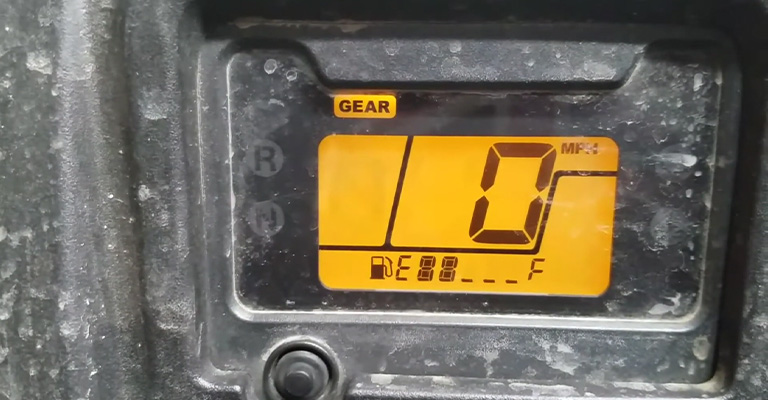
Now is the check light flashing again? If it remains off, consider the reset successful.
However, the check engine light can reappear. When this happens, it means an underlying issue still needs a solution.
Resetting the ECM is simple and you don’t have to be a tech geek to perform it. But, with an underlying issue going on, and if it is out of your boundary, you should get advice from a professional mechanic.
Last Words
Here, we are at the end of our article. The essential six steps we mentioned are easy to follow and do it yourself. Completely draining the battery is the first and hassle-free approach for beginners.
Essentially, you can reassure by separating the ECM fuse for a while. But that’s optional.
Do you have any more questions regarding resetting your Honda Rancher ECM? If yes, please leave a comment below and let us know.
Also, support us by sharing our article with your friends and other Rancher users.


