Have you bought a recent Honda? An Accord, Civic, or Odyssey, perhaps? You must have noticed that the ride has a Lane watch system. This reversing camera allows you to see the blind spots of your car.
If you happen to knock it off and go for a replacement or need to recalibrate it for some other reason, you’ve got two options: pay Honda a hundred dollars to fix it or calibrate it by yourself, free of charge. So, how do you calibrate a Honda Lanewatch? Read along.
Why Do You Need to Calibrate the Honda Lanewatch?
There are a number of reasons why you may need to calibrate the Lanewatch. For example, once you’ve removed or replaced the door panel, mirror, or camera itself — or after the door panel has undergone a body repair.
Calibrating the Honda Lane watch, a Step-by-Step Guide
Lighting
Pick a well-lit area, allowing you to calibrate the camera more accurately. Once you’ve chosen the spot, remove any bright object that just happened to be there.
If there’s any window or bright sunlight, move to another place or pick a different time.
Also, remove any object having a similar design to your targeted pattern. You may have to undergo several trials and errors to get it right. The aiming process may fail a couple of times. Try to make the lighting darker or lighter for an optimal aiming scenario.
Positioning & Leveling
The location of the Lanewatch calibration process must be completely flat. The slightest unevenness of elevation can cause major errors. So park your ride on leveled ground. An open area is suitable for avoiding any reflective object.
Ensure that there is at least 6.5 m long and around 3.5 m wide space around the car. You’ll have to place the target pattern at a distance of 4.5 m from the vehicle.
The distance will be measured from the center of your vehicle’s front wheel hub.
Moreover, to perfectly aim the Lanewatch correctly, you must have around 3.5 m of open space behind your rear bumper.
You should also leave an approximate space of 2.5 m on the car’s passenger side.
Car Optimization
You’ll have to ensure that the suspension of the vehicle is not modified. All the tires are to be of the correct sizes, pressure levels, and even treads.
The fuel tank must be full. Point the steering wheel straight ahead. Make sure that the wheel isn’t turned once the vehicle is set.
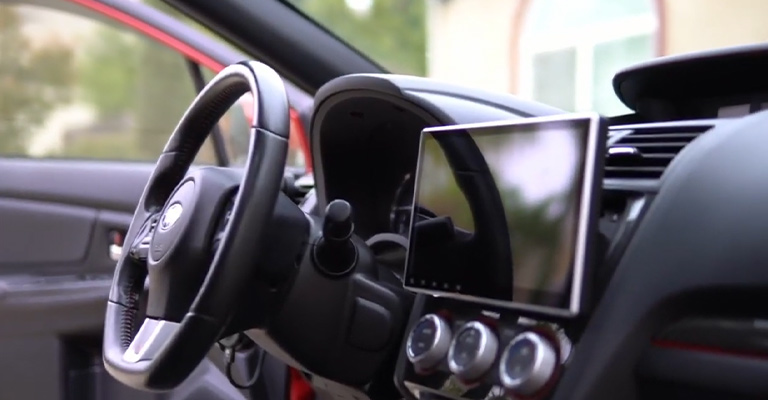
Except for the tool kit, get rid of all the cargo. Place somebody or something on the driver’s seat, having an equivalent to that of the driver. Apply the parking brake once the transmission is in N or P.
Positioning the Centering Stand
Take the centering to the front of your car and place it under the jacking bracket. Use a centering stand to find and mark a wheel’s center.
Let’s call it line (A). Once this centering stand is placed, mark the spot (B) on its centerline. Put your strut holder right between this mark on the floor and the jacking bracket.
Go to the back of your vehicle and position your centering stand right under the rear jacking bracket. After that, run through the cord right through the stand and attach this cord to it.
The stand must be placed 2.0 m behind your car. The rope should be tightened straight and not lie on the ground; otherwise, the alignment won’t be accurate.
Measurements for the Wheels
Take a measurement from the rim’s edge of the front wheel and place a mark (D1) intersecting the centerline. Repeat the measuring and marking for the other wheels as well and mark them as (D2), (E2), and (E1). You can use (D1) and (D2), for the front and (E1) and (E2), for the rear wheels.
Mark two points (F1) and (F2) at the back, at a distance of 4.5 m from the front wheel centers. The line must intersect the rear wheel marks (E1) and (E2).
You should take the measurements separately for each wheel and not just use the right angles to get the F1F2 line.
Placing the Lanewatch Target
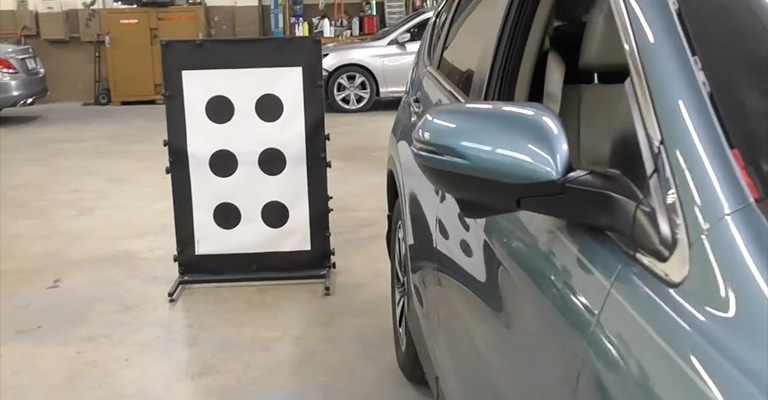
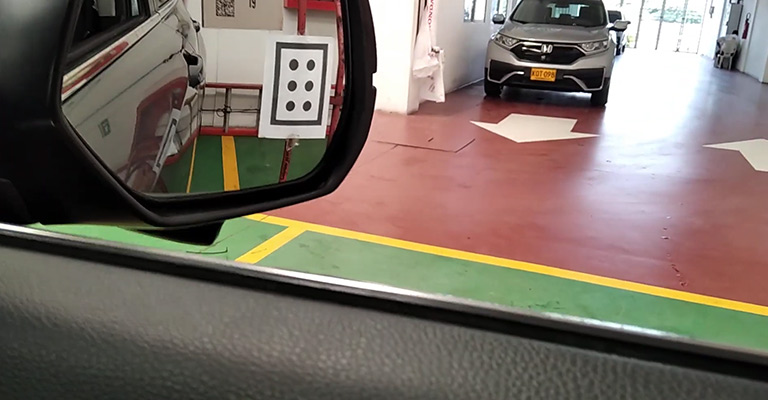
The Lanewatch target is a rectangular piece of paper with six dots/points. Its templates are widely available on the internet.
Download one of these and print it out to get your target. You may clip the target on a clipboard and place the board on a ladder. It’ll make a fully functional target.
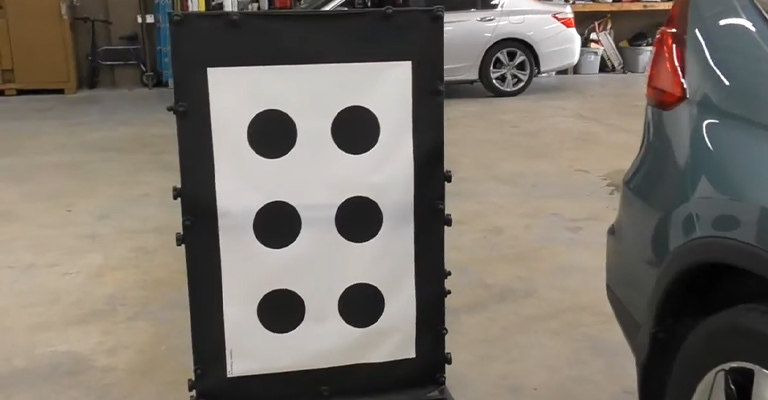
Alternatively, you can buy a ready-made Lanewatch marker and an aiming stand. Set the marker to the aiming stand and adjust the marker’s height. Go to the F1F2 line at the back of the car and position the Lanewatch target at its edge.
Aiming from the Dashboard Screen
The rest of the calibration process, known as aiming, is done from the dashboard screen. So, get inside the car. Use the engine to start or stop and select the ON mode. Or turn ON the ignition switch.
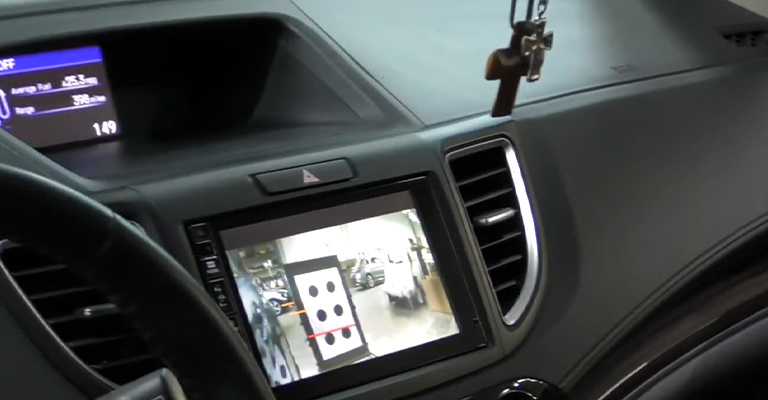
You’ll need to get to the Diagnosis setting. To do that, simultaneously press and hold on the HOME, POWER, and EJECT buttons.
Then Select Detail Information & Setting, then the Unit Check, and finally select Aiming Start and Lanewatch. Aim the camera by pressing the Lanewatch button.
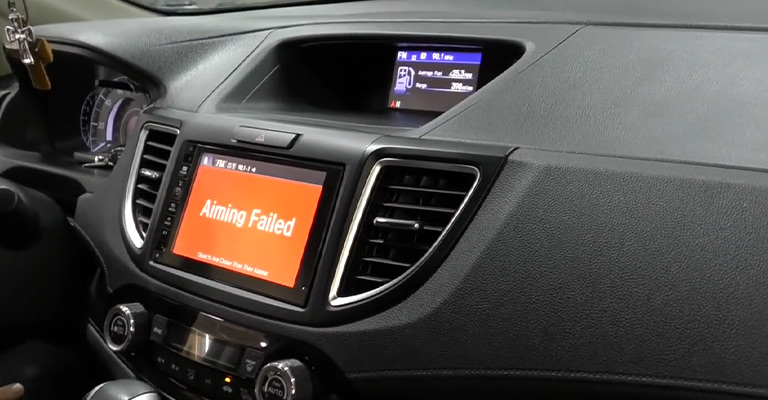
It’ll take a while for this aiming process to complete. The display will return to the Lanewatch’s camera image. If the target placement isn’t correct, it’ll show ‘Aiming Failed.’ Then, you’ll have to get out and adjust the target.
You will also find the B2 service light near it if your car has any problem.
Parting Words
By now, you’ve got the answer to your question: how do you calibrate a Honda Lanewatch? Follow the process carefully, and you’ll get the Lanewatch camera calibrated accurately.
Armed with this know-how, you can get this done like a charm. This will save you a few bucks, and more importantly, it’ll give you an enhanced driving experience.

