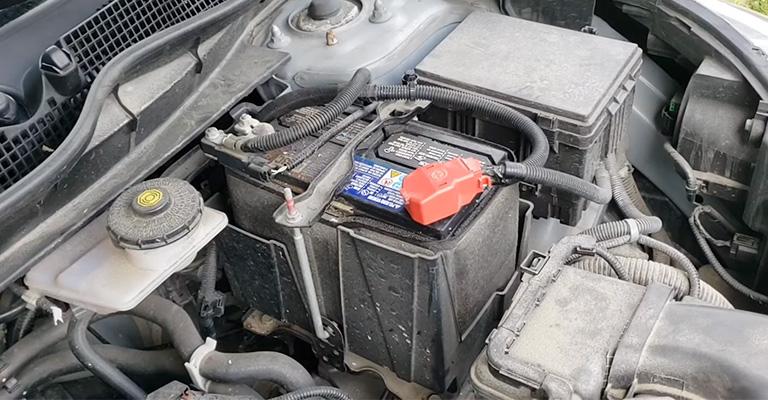
If you are having trouble with uneven tire wear and poor handling, a simple solution is adjusting the camber. Adjusting the camber on your wheels improves the vehicle’s handling and performance.
Do you know how to adjust the camber? To adjust the camber, loosen the bolts connecting the suspension components to the frame. Then, adjust the camber to the desired angle and tighten the bolts. It is essential to use a camber gauge to ensure that the camber is adjusted correctly.
In this article, we’ll explain the basics of camber adjustment and provide step-by-step instructions on how to adjust your car’s camber. Read on to find out more!
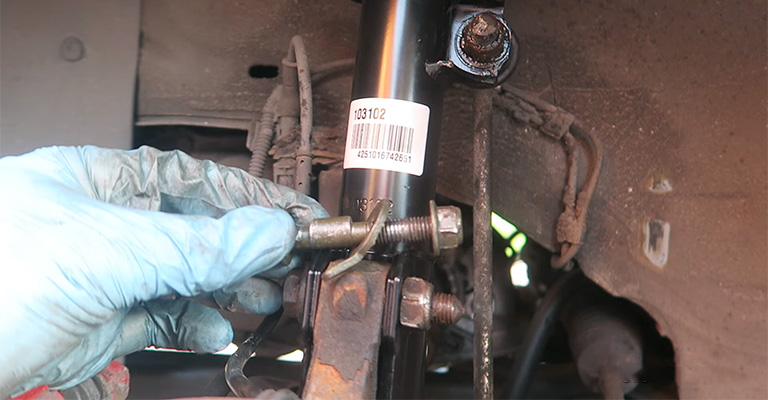
Step-by-Step Guide On How To Adjust The Camber
Typically, adjusting the camber of a car necessitates the use of specialized tools and equipment. In addition, you need a comprehensive grasp of the suspension and steering systems. Here are the fundamental steps for adjusting your car’s camber.
Step 1: Measure the Current Camber
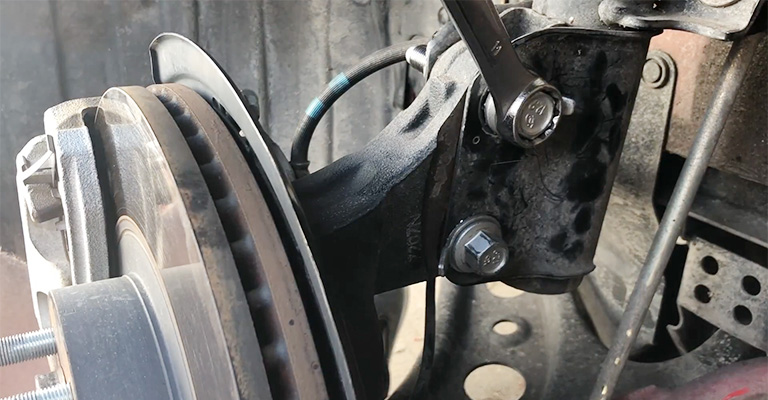
The initial step in adjusting the camber is to measure the present wheel angle. This can be done using two camber gauges; the digital camber gauge and the spirit level camber gauge.
However, the main difference between the two gauges is that the digital gauge is more modern and accurate. Unlike the spirit level gauge, a digital gauge can be used even on uneven ground.
Also, before accurately measuring the wheel camber, the digital gauge can be calibrated to the angle of the ground. On the other hand, the spirit level gauge needs no calibration and costs way less than the digital gauge.
To measure the camber, ensure the wheels are pointing forward and that the car is parked on level ground. Adjust each of the gauge’s arms in such a way that the device’s center directly faces the hub’s center.
Now, you can measure the current camber. Check if your desired camber is in line with the manufacturer’s requirements of how far the camber adjustment should be. Suppose it is; go to step 2.
Step 2: Set the Desired Camber
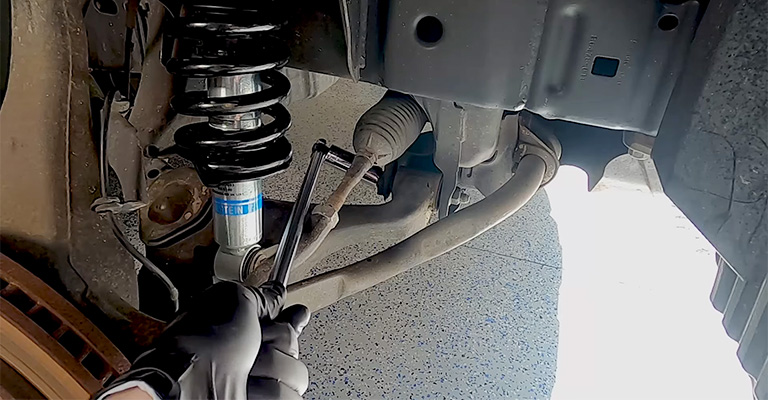
This will be determined by the type of driving you to undertake and the vehicle you own. A racing automobile, for example, may require a more negative camber angle for superior handling. At the same time, a family car may benefit from a more positive camber angle for a softer ride.
Step 3: Remove the Tire
Remove the tire to get the suspension components to perform a camber adjustment. Follow the sequence to do that.
- Raise the vehicle with a jack and support it with jack stands; ensure it is high enough
- Remove the lug nuts with a wrench, remove the tire, and put it aside
- Ensure the camber gauge is still in place even when the tire is out
- Loosen the upper control arm and install small shims. A shim adjusts the fit of two components, providing an exact fit and preventing any rattling or unwanted movement. In our case, the shim adjusts the fit between the control arm and the tire
- Use a 1/32-inch shim for every 0.5 degrees of camber required
- Tighten the upper control arm and put back the tire
- Lower the vehicle and double-check the camber
Step 4: To Set Positive Camber
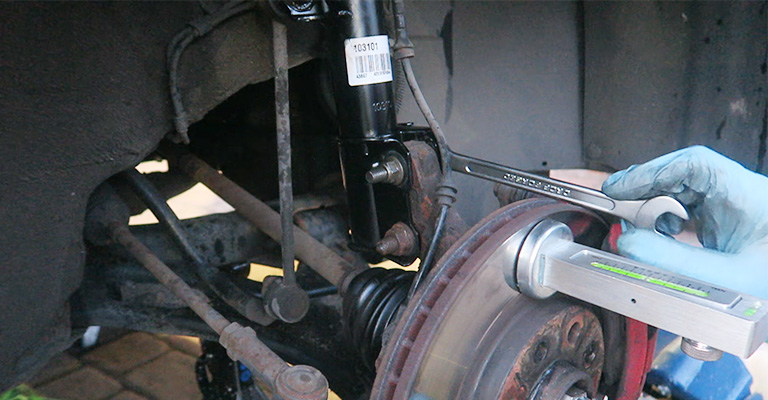
You will need to adjust the suspension to get positive camber. This step only applies to those who want positive camber for their cars. Here is what you need to do.
- Measure the wheel’s current camber angle with a camber gauge or angle finder. This will give you a starting point
- Then, loosen the camber bolts with a torque wrench by rotating them anticlockwise
- Do not completely remove the bolts; just loosen them enough to allow for adjustment
- Use a pry bar or a camber tool to push the top of the wheel hub or strut assembly outwards
- Retighten the camber bolts with the torque wrench once you’ve obtained the desired angle
- Measure the camber to ensure it meets the manufacturer’s specifications
- Once you have achieved the desired camber angle, retighten the camber bolts using the torque wrench. It is important to torque the bolts to the correct specification to ensure proper suspension alignment
- Proceed on the other wheels to ensure that all four wheels have the same camber angle
Step 5: To Set Negative Camber
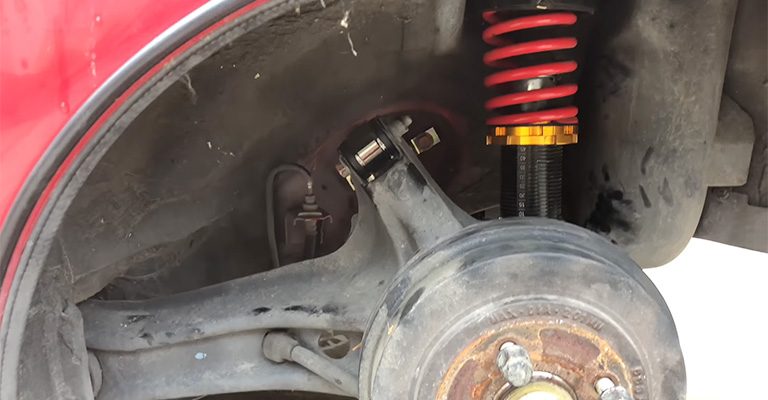
Negative camber causes the wheels to slant inward at the top. To set it, do the following:
- Determine the present camber angle using a camber gauge. This will provide you with a starting point to compare your changes
- Then, locate the suspension camber bolts. These are often found on the upper and lower control arms and the strut assembly
- Use a pry bar or a camber tool to push the top of the wheel hub or strut assembly inwards
- Adjust the camber bolts by slightly loosening them and spinning them to the desired angle
- Once the camber bolts have been adjusted to the proper angle, double-check the measurement with the camber gauge to ensure that you have set it correctly
- Finally, torque the camber bolts again to keep them in place. Make sure to twist them according to the manufacturer’s recommendations
- Proceed on the other wheels to ensure that all four wheels have the same camber angle
When Is It Necessary To Adjust Camber

Camber becomes necessary in case of the following reasons;
- When the vehicle tires have uneven wear: Uneven tire wear can indicate that the camber is out of alignment, as one edge wears faster than the other.
- When the vehicle’s handling is poor and cornering: If the camber is not adjusted correctly, the vehicle may pull to one side, making it difficult to control.
- When the vehicle is unbalanced: If the camber is not adjusted correctly, the vehicle may feel unsteady and unstable.
- When the vehicle is experiencing alignment issues: If a vehicle’s camber is not correctly aligned, it can cause problems with the overall vehicle alignment. Various factors, such as a misaligned suspension or steering system, can cause this.
- When the vehicle’s fuel efficiency is poor: Poor camber alignment can cause the vehicle to consume more fuel than is necessary, resulting in lower fuel efficiency.
Pros And Cons Of Camber
Camber has advantages and disadvantages, which you should be aware of before making any changes to your vehicle’s suspension.
Advantages of Camber
- Improved handling: Camber can increase a vehicle’s grip on the road, leading to better handling and cornering.
- More even tire wear: Camber can help ensure that the tread on all four tires wears evenly, resulting in fewer tire replacements.
- Better braking performance: Camber can help increase the contact area between the tire and the road, resulting in better braking performance.
- Less tire slip: Camber can help reduce the likelihood of a vehicle slipping on wet or icy roads, improving safety.
- Enhanced aesthetics: For some drivers, the appearance of their vehicle is an essential factor. A positive camber angle can give a vehicle a more aggressive, sporty appearance, which may appeal to some drivers.
- Enhanced steering response: A positive camber angle can help to improve steering response by allowing the tire to grip the road more effectively. This can be especially useful in high-speed or emergencies where quick, precise steering is crucial.
Camber disadvantages
- Increased tire wear: Camber can increase the wear and tear on the outside edge of the tire, requiring you to replace it more frequently.
- Reduced suspension travel: Camber can reduce suspension travel, resulting in a harsher ride.
- Decreased stability: Camber can reduce a vehicle’s stability, making it more difficult to control at higher speeds.
FAQs
Here are other related questions regarding the camber adjustment.
Q: How much does it cost to have the camber adjusted?
The cost of camber adjustment varies depending on the vehicle type and the required adjustment, but it typically ranges from $50 to $200.
Q: Is it a must for all wheels to have the same camber?
No, all wheels do not have to have the same camber. However, the camber should be the same on both sides of the vehicle. This keeps the tires parallel to the ground and allows for even wear and contact with the road surface.
Conclusion
Now you know how to adjust the camber and when it is necessary. You can now adjust your camber by following the steps outlined in this article. Camber adjustment is vital in maintaining a vehicle’s proper alignment and handling.
It entails measuring the angle of the wheels and adjusting the suspension to ensure they are correctly angled to the ground. Note that adjusting camber can significantly impact a vehicle’s overall handling and performance.
So it is critical to follow the manufacturer’s recommendations and take the necessary precautions when making adjustments.


