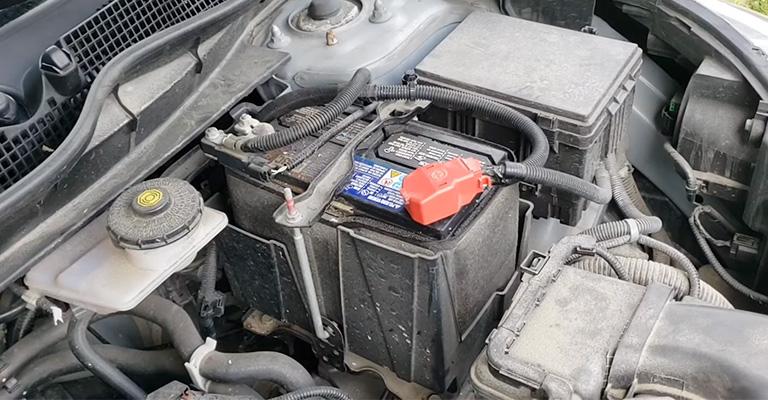
Clocking piston rings can be challenging, especially when you need the proper steps! How to clock piston rings, then?
When clocking the piston rings, one must have an excellent understanding of the science behind sealing the combustion pressure above the piston.
It’s also necessary to remove oil from the cylinders to eliminate contaminants interfering with the combustion process.
Well, there are more than just these! So, this blog will give you all the ins and outs you need to know when clocking your piston rings!
Types of Piston Rings
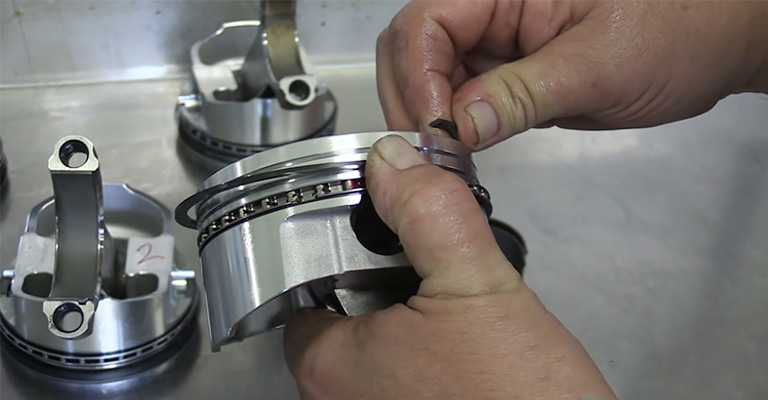
Mainly there are two types of piston rings: compression rings and oil control rings. These rings are designed to meet the engines’ different functions and usability requirements.
Compression rings/pressure rings
The compression rings make up the first channels of the piston. Its primary role is to shift heat from the piston to the piston walls and seal the combustion gases to prevent leakage.
Moreover, the compressor rings are given a drum-like structure and tapered shape for competent gas sealing.
Note: A backup compression ring is installed below the compression rings, known as the wiper or Napier ring.
Its function is to rub off extra oil from the cylinder surface. And also to support it as a fill-in ring to stop any gas leakage which may escape from the top compression ring.
Oil control rings/Scraper rings.
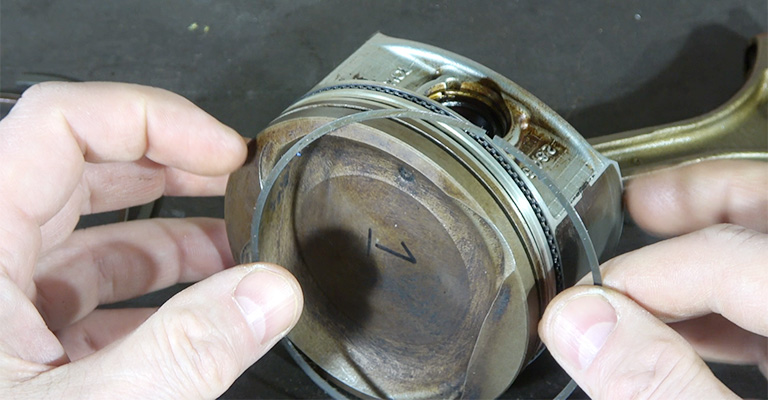
These rings spread lubricating oil evenly around the surface of the cylinder walls. They also control the proportion of oil passing through the cylinder lines.
Oil control rings, also called scraper rings, send back oil to the crankshaft after scraping them off cylinder walls.
The ring set has 3 rings in total.
- A top ring
- An oil wiper ring
- An oil control ring
Then again, the oil control ring has two scraper rings and a spacer.
How to Clock Your Piston Rings?
In this section, we’ll let you know all the steps through which you can easily clock the piston rings in no time. So, don’t skip any of the following steps.
Step 1: Unpack and scrutinize every surface
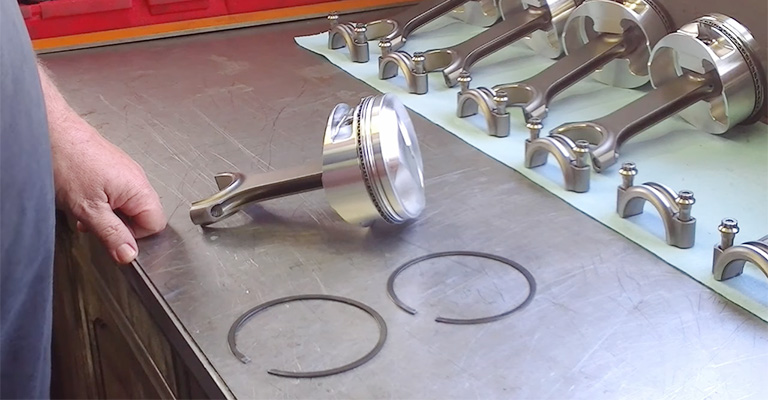
If the rings are not appropriately inspected, combustion leakage might occur, regardless of their materials. So, searching for rust, cracks, chips, or other defects before installation is essential.
Step 2: Clean the rings
Be sure to clean the cylinder thoroughly bore. It’s a pivotal step for sealing the rings properly.
- Applying very light pressure, wipe the rings with lacquer.
- Use 400-grit sandpaper to shave all the rough edges. Keep the ring end square.
- Remove surplus coating using a red scotch brite grit.
Step 3: Gap adjustment of piston ring
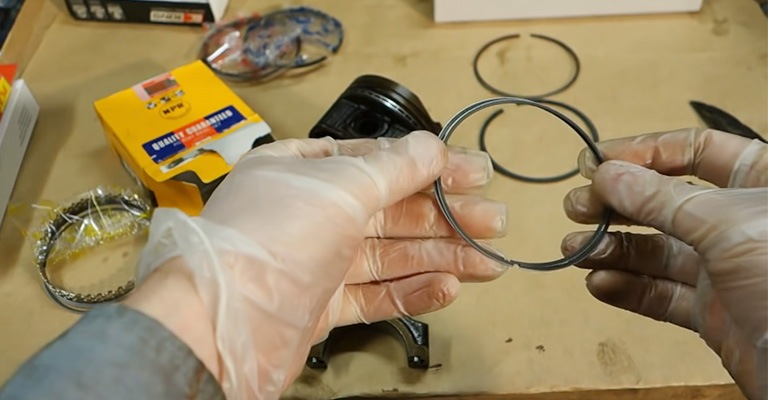
Engine damage can occur if you fail to ensure a proper ring gap.
- The upper ring gap must be smaller than the second to stop the top ring from quivering.
- Your cylinder or engine block should be attached to a torque shell and stiffened with the same torque force as the bolts.
- Almost every kit comes with an end gap pre-set. Typically, a white sticker on the packaging states how far the rings should be gapped.
- Upper ring =. 0045-.0050
- Second ring =. 0050-.0055
- Oil ring-actual gap= 0.15-.050 per inch of bore.
Step 4: Piston ring installation
Studying the pictures in the manual will give a clear view of installing the piston ring, but it’s still a hectic procedure.
- Inspect each ring’s corresponding piston ducts to check their axial and radial positions.
- Axial clearance approx. =0.001″-0.002
- Radial clearance approx. = minimum 0.005″
Oil rings: It’s crucial to block overlapping of the oil expanders, or the engine may smoke up. So, the placement of the oil rings is essential for the combustion process. The oil rings have springs on each side.
That’s not all; the spring parts should be set in the lowest groove of the piston, positioned at 90° from each end of the bolt.
Scraper rings: They usually remain between the oil expander rings, but properly mounting these spring rings is also crucial, or the engine may be on fire.
Step 5: Second piston ring installation (compression ring)
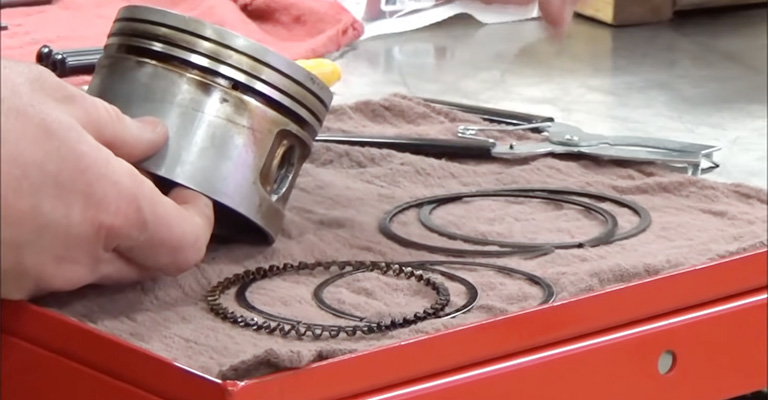
- The second ring has to be installed before the first ring. Use a piston ring expander to clock the ring.
- The marked side should be up.
- Bevel should be clocked downwards if the second ring is unmarked with an internal bevel.
- It doesn’t matter which way they are installed if there’s no marking.
Step 6: First piston ring installation (compression ring)
- Install the first piston ring using a ring expander.
- The marked side should be upward-facing.
- If the first ring is unmarked, the bevel should be installed upwards.
- It can be clocked in both directions if the ring is not marked.
Step 7: Checking crankshaft ventilation
Crankcase pressure may build up even if you have a nicely operative engine, irrespective of how well your piston ring seals.
So, reviewing crankcase ventilation before installation is an essential check-out routine that should be noticed.
Purpose of Piston Ring’s Material for Proper Functioning of Engine
Here’re some essential purposes of the piston ring’s material for proper engine function.
- The piston ring’s material plays a huge role in maintaining its function and durability. It should have a low friction coefficient material to provide ample resistance when it comes in contact with the mating surface.
- For both compression and oil rings, grey cast iron is widely used. Heavy-duty engines have chromium molybdenum iron, malleable iron, and sometimes there are ball-bearing steels too. Chromium helps to resist oxidation, scruffiness, and corrosion.
- Due to steel cylinder liners, walls can be made much thinner now.
- Al-Si cylinder liners have lightweight and dominant properties, so they are now replacing other liners.
How Do Piston Ring Work?
This section gives you a complete summary of the piston rings’ overall mechanism!
- Compression rings on top seal any leakages inside the combustion chamber during combustion.
- High pressure from combustion gases reaches the piston head, pushing the piston toward the crankcase forming an effective sealing.
- Gases pass along the gaps between the piston and cylinder lines and into the piston ring channel.
- Wiper rings wipe off excess oil and impurities.
- Oil rings at the bottom groove also remove surplus oil from cylinder lines when the piston works.
- Spare oil is shifted back to the oil sump. As oil rings have springs, they provide an additional force to wipe the liners.
What Happens if The Piston Ring Wears Out?
Sealing problems and piston ring damage may occur due to numerous unavoidable reasons. Ring performance is affected highly due to the enormous amount of pressure exerted on the piston rings coming from the combustion chamber.
- Ring damage may happen if the pressure inside the chamber increases.
- Using contaminated fuel or third-graded cylinder oil may also affect ring performance.
- Carbon or sludge may deposit on the rings and cause cracks.
Axial and radial rings come under the radar if piston rings wear out or are not installed correctly.
Reasons for axial ring failure:
- Worn piston ring grooves.
- Due to the high lodge of sludge and carbon, groove base gas volume becomes too low.
- Exuberant ring height clearance.
- Rings may flutter due to the mechanical contact between the cylinder and piston head.
Reasons for radial ring failure:
- Pressure loss between cylinder walls and piston head.
- Excessive worn-out piston rings reduce the thickness of radial walls.
- Ring edges get damaged due to abrupt honing.
Bottom Line
In conclusion, like every matter in this universe, piston rings have a limited life span. Its life depends on the engine size it is inserted into, the ring type, and the serviceable state of the liner and the ring.
So, the piston rings must be replaced after pulling their weight. And again, while tucking new pistons in, make sure to use sufficient lubricant.
This will prevent the rings from sticking to the liner face while going inside the combustion chamber.


