A roof molding is a strip of material attached to a vehicle’s roof. It covers the gap between the roof and the windows, doors, or other body panels and helps to give the vehicle a finished, polished look.
Roof moldings are typically made of plastic, rubber, or metal and are available in various colors to match the paint and trim of the vehicle.
Some roof moldings are designed to be functional as well as decorative and can serve as a mounting point for roof racks or other accessories.
Overall, roof moldings are an important part of the vehicle’s exterior design and protect the roof and other components from the elements.
There are times when you have to remove the roof molding. Why? You might want to remove roof molding on a Honda Accord for several reasons.
One reason is if the molding is damaged or has become loose, it can be unsightly and potentially hazardous. Removing the molding allows you to repair or replace it, ensuring that your vehicle looks its best and is safe to drive.
Another reason to remove the roof molding is if you want to install a roof rack or other aftermarket accessory that requires you to remove the molding.
Additionally, removing the roof molding can make it easier to access the roof of your vehicle for cleaning or other maintenance tasks.
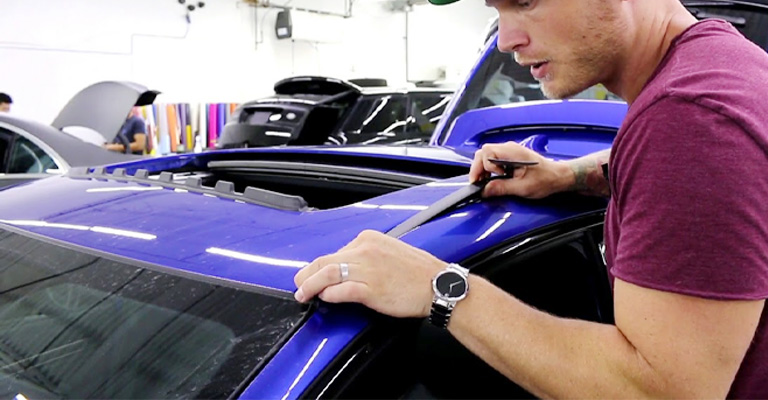
How To Remove Roof Moldings On Honda Accord?
To remove roof moldings on a Honda Accord, you will need a flathead screwdriver, a trim tool, and a pair of pliers. Begin using the flathead screwdriver to gently pry the molding away from the roof.
Use the trim tool to carefully loosen the clips or fasteners that hold the molding in place, and use the pliers to gently remove any remaining clips.
Once all of the clips have been removed, you can carefully pull the molding away from the roof and set it aside. You may need to repeat this process for each section of molding on the roof.
If you are having difficulty removing the roof moldings, you may need to apply gentle heat to loosen the adhesive or sealant holding them in place.
A hair dryer or heat gun set to a low temperature can be used for this purpose. Be careful not to apply too much heat, as this can damage the roof or the moldings.
You may also need to use a solvent or adhesive remover to soften any remaining adhesive or sealant, which you can apply using a cloth or brush.
Be sure to follow the instructions on the product’s label, and wear gloves and protective eyewear to avoid contact with the chemicals.

Here Are Some Tips For Removing Roof Mold And Racks All At Once
When installing on a vehicle, removing hardware usually helps installers wrap further within the vehicle to ensure full coverage. Similarly, a roof often presents challenges to wrap, especially since it is such a large surface.
If you remove any molding or racks there, it can dramatically increase your wrap quality and efficiency. For all standard hardware above there, here is a single guideline you can follow:
Molding Held In Place With Plastic Clips Or Painted Clips
For molding like this, you should have a plastic removal tool. Try to avoid breaking the clips by prying them as close as possible. Gently pry the molding off with your fingers as you slowly slide them forward.
You can place the molding with the clips inside the vehicle immediately after removing it. Keep it off the roof. Because there is usually metal underneath, it will scratch the surface.
It is best to leave moldings held by double-sided tape. If you remove them, they might not fit properly when you try to put them back. If you remove them, they may distort.
Roof Rack
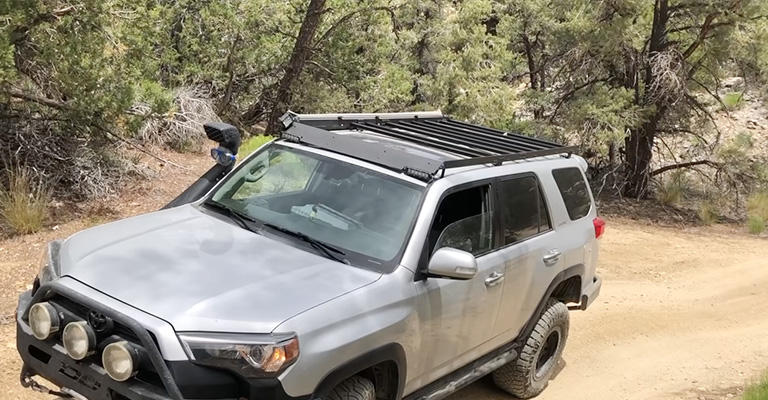
Each roof rack usually comes with a plastic cover, which can be placed either at the front or the back. Upon prying off this cover, you can see what is holding it in place.
Torx or bolts are commonly used to hold roof racks. You can remove the whole thing by loosening them with a screwdriver. It is important to note, however, that Torx comes in different types.
It is, therefore, best to prepare enough tips so that you can pick and choose from them as you wish.
Keep the rack straight in the air when it gets loose to prevent it from falling. In the same way, keep it in a safe place, such as your car. There may be a lot of dirt under the roof rack. You should thoroughly clean at this time.
Having removed all moldings and racks, the roof is a flat surface that can be wrapped. It will also be easier and faster for you to proceed.
My Two Cents
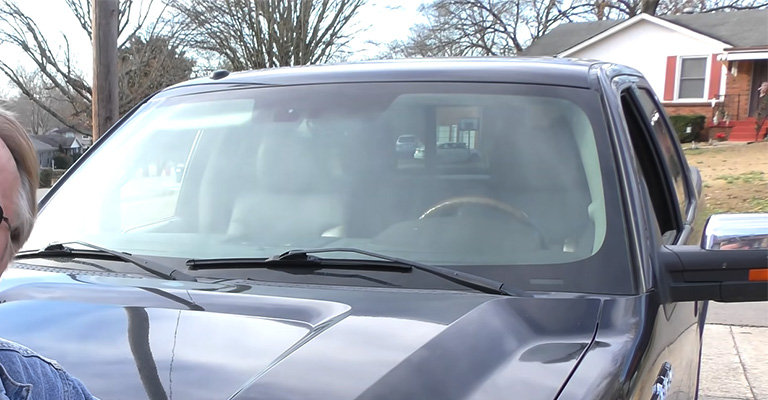
It’s probably the easiest thing to remove the long black roof molding on an accord. In most cars I’ve dealt with, the strip has an inch-long piece on the front and the back, and those are the parts you have to slide off. Roof moldings are held on by a series of clips.
It’s then a simple matter of removing the other clips along the middle of the strip, usually, there are 3 or 4. Normally, I just try to pull up on the strip near the front or back, allowing me to pull it out of one end.
I then pop it off the clips on the other end until I reach the other end and slide it out through that end. Hopefully, that’s clear. Take care not to scratch the body with your fingers. Remove components with trim tools instead of your fingers.
If you use metallic tools to remove the roof molding from the windshield area, you may crack or chip the windshield.
Final Words
In general, the process of removing molding from a car can involve using a pry bar or chisel to carefully loosen the molding from the surface it is attached to.
It may also be helpful to use a hammer or rubber mallet to gently tap the pry bar or chisel to help loosen the molding. Safety precautions, such as wearing protective eyewear and gloves, should also be taken.
It is important to exercise caution when removing molding from a car, as damage to the car’s body can occur if the molding is not removed properly. It is always best to consult with a professional if you are unsure about how to safely remove molding from a car.




Hi, I need to replace the roof molding on a 2015 Honda Accord. I am concerned about removing molding from clips. Can you advise on any specifics? Also where to purchase?
It’s good that you’ve already changed the solenoids but it seems like there’s still an issue with your transmission. According to Honda mechanics, P0700 commonly turns on because of contaminated transmission fluid or bad shift solenoids2. There could be a fluid leak that’s causing it to escape the system2. It’s best to have your vehicle checked by a professional mechanic who can diagnose and fix the problem for you.
I hope this helps!