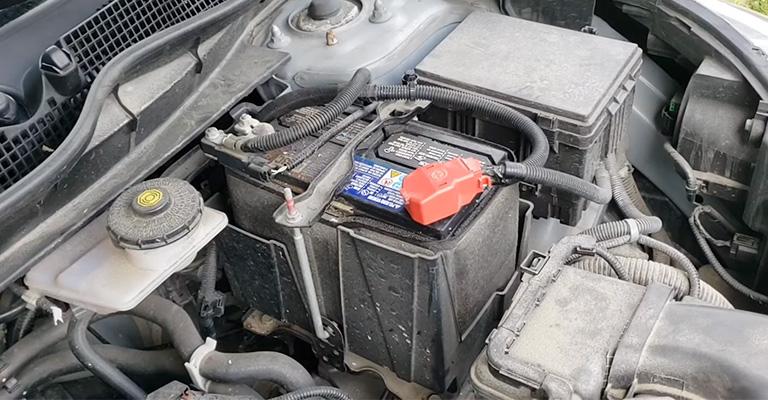
Ready to shake things up and add some serious upgrades to your K24 engine? It’s time to consider the K20 head swap!
But why swap a K20 head for a K24? Well, the K20 head is designed to allow for better airflow, which can improve the engine’s performance and power output. It can also help increase horsepower and improve fuel efficiency. Additionally, the K20 head is a popular modification choice and is compatible with many aftermarket parts.
So, is this swap the right thing for you and your engine? In this article, we’ll dive into the nitty-gritty of the K20 head swap and help you decide if it’s the right choice for your ride.
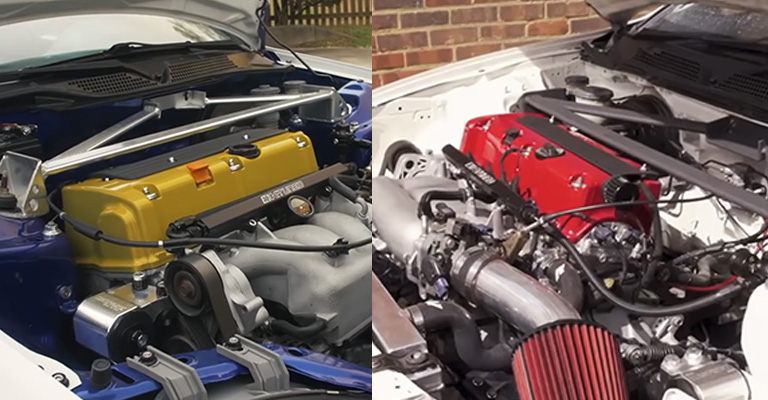
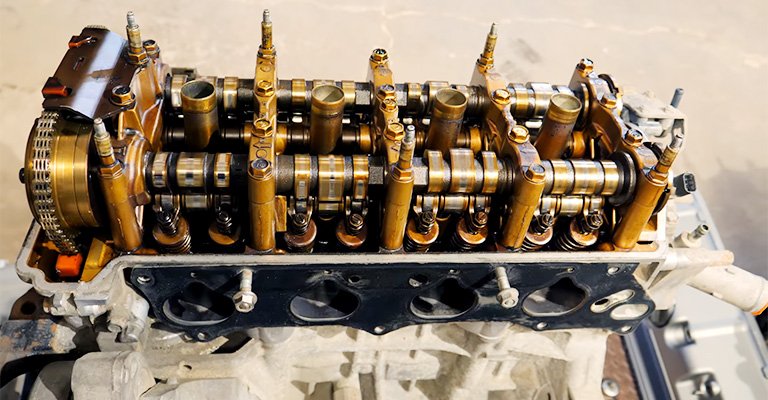
What is a K20 Head?
Simply put, it’s the part of the engine that houses the valves, spark plugs, and other components responsible for the intake and exhaust of air and fuel. The K20 head is designed to be used with a K20 engine, a different engine model from the K24.
Why Swap a K20 Head for a K24?
There are several reasons someone might consider swapping a K20 head onto a K24 engine. They include:
1. Improved Airflow and Combustion
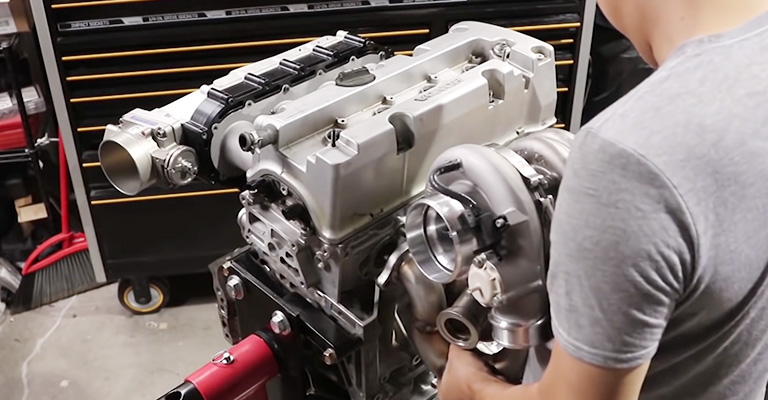
One of the primary advantages of the K20 head is its design, which allows for improved airflow and combustion in the engine. This is achieved through larger and more efficient valves and a more streamlined combustion chamber. These features allow the K20 head to draw in more air and fuel.
2. Increased Horsepower
As mentioned, the head results in improved airflow and combustion. This can lead to a boost in power output. Thus, it can make your engine feel more responsive and give your car a boost in speed, making it more fun to drive.
3. Compatibility with Aftermarket Parts
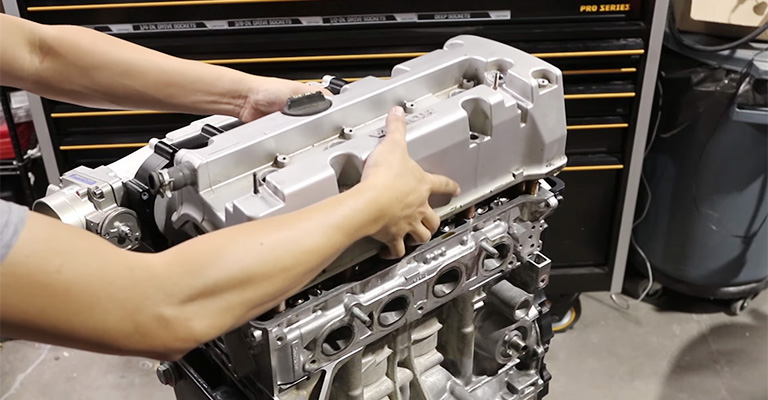
This means you can customize and improve your engine even further with the right parts and setup. The K20 head is compatible with many aftermarket parts, including camshafts, intake manifolds, and exhaust systems.
Also, this can give you even more control over the performance of your engine and allow you to tailor it to your specific needs and preferences.
4. Cost-Effectiveness
This swap is a more cost-effective way to boost the performance of a K24 engine than other modifications or upgrading to a different engine entirely. While the cost of the K20 head can be high, it is still more affordable than other options for improving performance.
5. Better Fuel Efficiency
The improved airflow and combustion provided by the K20 head can lead to a more efficient fuel burn. And it can result in lower fuel consumption and save you money on fuel costs. Thus, it would make your engine more environmentally friendly.
How to Perform a K20 Head Swap
The K20 head swap process involves the following steps:
Step 1. Remove the Engine Components
- Remove the engine components that will be in the way of the process. This may include the intake manifold, exhaust manifold, and timing belt.
- Use a socket set and wrench to loosen and remove the bolts that hold these components in place.
- Keep track of any bolts, nuts, or other small parts you remove, as you will need to reinstall them later.
Step 2. Remove the Engine from the Vehicle
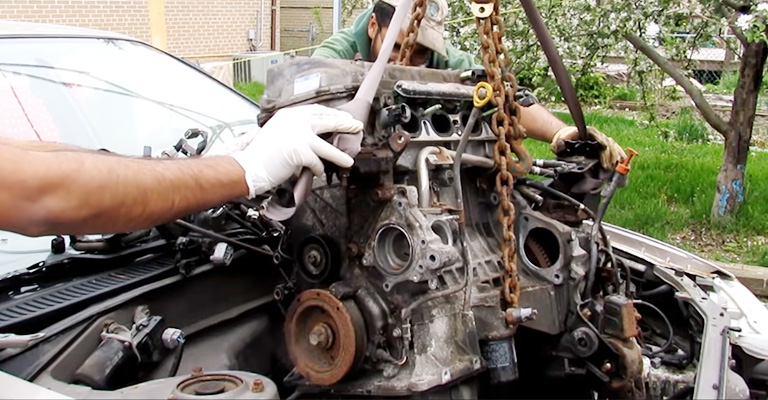
- Start by disconnecting the battery and any electrical connections to the engine.
- Drain the engine oil and coolant.
- Loosen and remove the bolts that hold the engine in place. These may include bolts at the engine mounts, transmission mount, and exhaust pipe.
- Carefully lift the engine out of the vehicle, using a hoist or other lifting device if necessary.
Step 3. Remove the Old K24 Head
- Now begin the process of removing the old K24 head.
- Use a socket set and wrench to loosen and remove the head bolts that hold the head in place.
- Carefully lift the head off of the engine and set it aside.
- Keep all the nuts and bolts safe.
Step 4. Clean the Nuts, Parts, and Gasket
Before installing the new K20 head, it’s a good idea to clean the nuts and screws that will be used to hold it in place. Also, clean any other parts that will be reused.
Use a cleaning solution and a wire brush or toothbrush to gently scrub the nuts and screws, removing any dirt or debris. This will help ensure that the new head is securely held in place and can help prevent any issues with the installation.
Additionally, be sure to clean the gasket and the cylinders in the engine block to prepare for the new head.
Step 5. Grease the Nuts, Washers, Gasket, and Cylinders
- Use high-quality engine grease specifically designed for use in engines.
- Apply a thin layer of grease to the threads of the nuts and screws that will be used to hold the new head in place.
- Also, apply a thin layer of grease to the washers that will be used with the nuts and screws.
- Do so to both sides of the new head gasket and the engine block’s top side of the cylinders.
- Be sure only to use a small amount of grease, as too much can cause issues with the engine performance.
Step 6. Install the Gasket
- Carefully position the gasket onto the engine block, aligning it with the holes for the head bolts.
- Use a gasket scraper or a small piece of wood to gently press the gasket into place, careful not to damage it.
- Double-check the alignment of the gasket to ensure that it is properly positioned on the engine block.
Step 7. Install the New K20 Head
With the gasket properly installed, you can now begin the process of installing the new K20 head. Follow these steps to ensure a smooth and successful installation:
- Carefully position the K20 head onto the engine block, aligning it with the head bolts and the gasket.
- Double-check the alignment of the head to ensure that it is properly positioned on the engine block.
- Use your fingers to lightly tighten the head bolts, being careful not to over-tighten them.
- Use a torque wrench to tighten the head bolts to the recommended torque specifications.
Step 8. Reinstall the Engine Components
With the new K20 head installed, you can now begin the process of reinstalling the engine components that were removed earlier. Be sure to use new gaskets and seals as needed.
Step 9. Adjusting Camshaft and Timing Components
There are marks on the camshaft, crankshaft, chain, and exhaust shaft. You should match them so that they are in position. Check this video to follow the timing set up https://youtu.be/vi6YEqkogAo
Step 10. Test the Engine
With the camshaft and timing components installed, you can test the engine to ensure it is running correctly. Follow these sequence to test the engine:
- Reinstall the engine into the vehicle, using the hoist or other lifting device if necessary.
- Connect the battery and any electrical connections to the engine.
- Refill the engine with oil and coolant using the proper type and amount specified in your vehicle’s repair manual.
- Start the engine and let it run for a few minutes to circulate the fluids and check for any issues.
- Take the vehicle for a test drive, paying attention to how the engine runs and any unusual noises or vibrations.
If everything seems to be running smoothly, you should have a break-in period for the K20 head. This typically involves driving the vehicle gently and avoiding high speeds and heavy loads for about 600 miles.
Cons of the K20 Head Swap
Here are the downsides of doing this swap:
Complexity and Time Consumption
The process can be challenging and time-consuming, especially for those not experienced in engine work.
Solution: Seek the assistance of a professional mechanic.
Cost
Another con of a K20 head swap is the cost of the parts and labor involved. The K20 head and other parts needed for the swap can be expensive. And the labor cost can add up if you choose to have a professional mechanic perform the swap.
Solution: Try sourcing used or discounted parts, or you can consider doing the work yourself.
Risk of Damage
If the head is not installed correctly or other issues arise during the swap, it could lead to costly repairs or even engine failure.
Solution: Carefully follow the instructions and use the proper tools and techniques.
Warranty Considerations
Depending on your warranty terms, a modification like a K20 head swap may void the coverage.
Solution: Do the swap after your warranty expires
FAQs
Here are answers to some questions that may come up during the swap procedure:
Q: Is a K20 head swap worth it?
Whether a K20 head swap is worth it depends on your specific goals and needs. In general, the K20 head is known for its high performance and reliability. This makes it a popular choice for those looking to boost power and performance.
However, a K20 head swap can be a complex and time-consuming process. It may not be worth the effort if you are not looking to improve your vehicle’s performance significantly.
Q: Can I reuse the old head gasket?
Reusing the old head gasket when performing a K20 head swap is generally not recommended. The head gasket is a critical component that helps seal the engine.
Therefore, using a worn or damaged gasket can lead to leaks and other issues. So, using a new head gasket is best to ensure a proper seal and optimal engine performance.
Conclusion
The information puts to bed the question, why swap a K20 head with a K24? It can be a great way to boost the performance and reliability of your engine. However, it is also a complex and time-consuming process that may not suit everyone.
Besides, it is essential to carefully consider the pros and cons of a K20 head swap. You should also thoroughly research the compatibility of the K20 head with your specific make and model of vehicle. Once the K20 head is installed, maintain regular maintenance and monitoring to ensure it continues running smoothly.


