Engine connecting rods can malfunction or fail sometimes. However, by paying attention to the torque specifications, problems with connecting rods can be resolved. You can repair this problem correctly if you know the correct torque specifications.
So, what are the torque specs for connecting rods? The torque specs for connecting rods vary with the design parameters. For an initial design, the torque spec is 15 lb-ft for the connecting rod. And the required degree is 60 degrees for the final pass. The spec for the second design is also 15 lb-ft but with 70 degrees.
You will undoubtedly get an understanding of how to handle issues. With connecting rods after this guide. Likewise, their torque specifications.
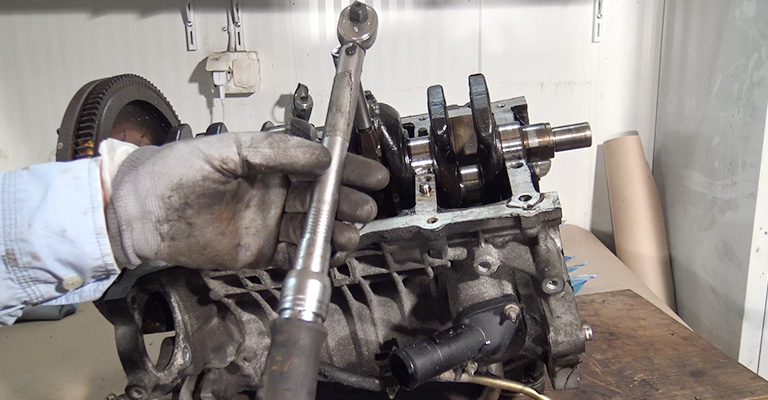
What Are The Torque Specs For Connecting Rods?
A connecting rod is so complicated that troubleshooting one would seem to be nearly impossible. Therefore, you need to be aware of the torque specifications. But don’t worry, you’re not the only one who is dealing with these issues.
I’ve compiled a list of Torque Specs for your engine’s connecting rod.
| Connecting Rods | Torque Specifications |
| Initial Design (First Pass) | 15 lb-ft |
| Initial Design (Final Pass) | 60 degrees |
| Second Design (First Pass) | 15 lb-ft |
| Second Design (Final Pass) | 70 degrees |
I hope this information aids you in selecting the appropriate torque for your engine!
4 Steps on How to Install Connecting Rods?
The life of the car engine is significantly dependent on the proper fitting of the connecting rod. So one must install the connecting rods properly. Here I will show the best techniques for doing this job.
Step 1: Record the Measurement
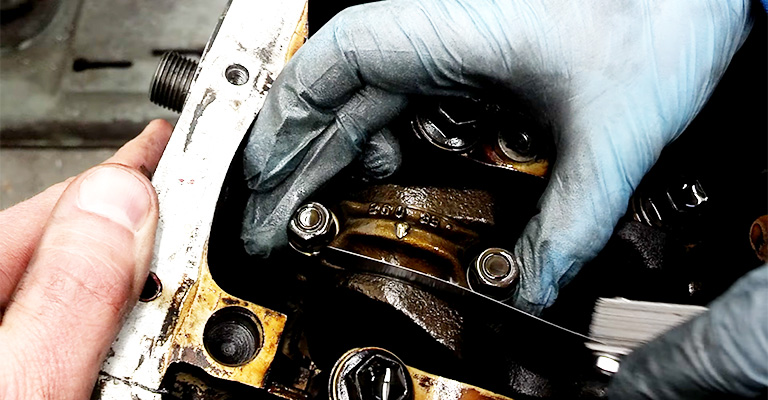
The first thing to do while installing the connecting rods is to record the measurements. That is because the amount of torque measured indicates the friction required for spinning the fastener.
However, this amount can be influenced by several factors. Lubricating oil is the most common of them. Using molybdenum lubricant or any other liquid will decrease the required torque significantly.
Take a notebook and pen while doing this work to avoid any mistakes.
First, determine the length of the fasteners. These are the free length of the fasteners. So make sure that they are relaxed while you are taking the measurements.
The ARP 2000 fasteners contain dimples on either side for measurement purposes. By using this gauge can be accurately centered on the fasteners.
Step 2: Setting the Gauge Ball
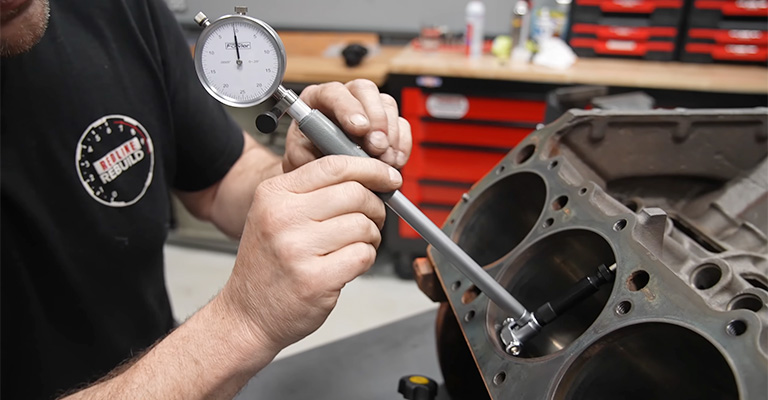
Now it is time to set the gauge balls.
- The gauge balls will be installed in the fastener dimples.
- Stretch the balls end into the dimples.
- Do not apply any torque during this process.
- Also, make sure to keep the outer ring of the dial gauge set at zero in the gauge face. The connecting rods with K1 technologies have specific stress specifications for each fastener. Therefore, carefulness must be given to two factors while doing this job.
- Firstly, use an accurate torque wrench for the work.
- Secondly, make sure to tighten the fastener with a single pull because pausing the work midway can give inaccurate readings.
- Also, use a connecting rod vice to hold the rod steadily during the complete process.
Step 3: Calculating Torque Value
Now you know the torque required to produce the needed amount of fastener stretch is to be known. So it’s possible to calculate the torque value required to complete the stretch. Then the required amount is to be applied to the fasteners.
But a high amount of carefulness is necessary for this work. That is because overstretching the fastener can damage the wrench. Also, the bolt can be distorted and will not return to its natural shape.
Step 4: Measure the Length of the Bolts
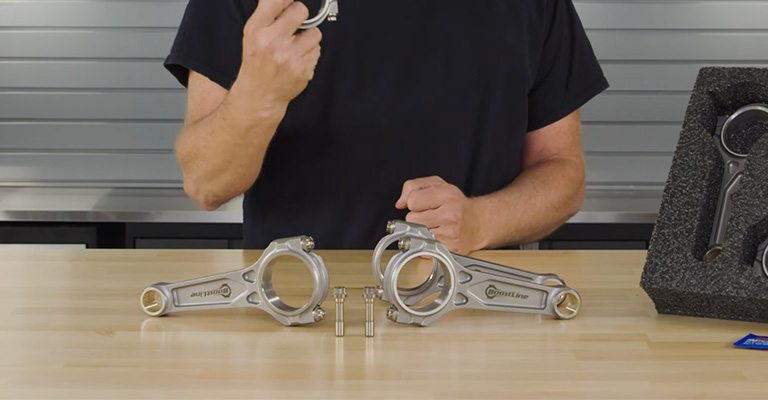
The last step is to measure the length of the bolts. Applying lubricant will change the stretch of the bolt by decreasing friction. So the bolt stretching technique is the most appropriate technique for this purpose.
It is to be made sure that the fasteners’ length should not vary more than 0.001 inches when removed.
These are the required steps for installing the connecting rods. Follow the given steps carefully to avoid any hassle.
Things to Remember While Installing Connecting Rods
It is very important to install the connecting rods correctly to get the best outcome. Also, following the correct techniques will make the work more simple and easy. Here are some tips to help you do the work without any errors.
- It is important to ensure that the slow turning and main starting valves are blocked during the work. Also, keep the air supply off at the beginning. Thus, keep the indication cocks open as well.
- Check out the connecting rod carefully before installing it. The rod must be without any issues for proper functioning.
- Do not operate the connecting rod from the switchboard while repairing the engine.
- Make sure to maintain a safe distance from the cocks.
These tips will ensure you can finish the work efficiently and safely. So do not forget to follow these tips.
Conclusion
This is all on your query: what are the torque specs for connecting rods? I hope that now you have understood the matter clearly. You must measure the torque carefully for the success of this work. Utmost carefulness is also needed while setting the gauge balls.
The overall success of the work is highly dependent on the correct measurement of the torque and length of bolts. So try to be precise while taking the measurements. If you have any confusion regarding the matter, contact a professional. This will ensure the proper handling of the connecting rod.


