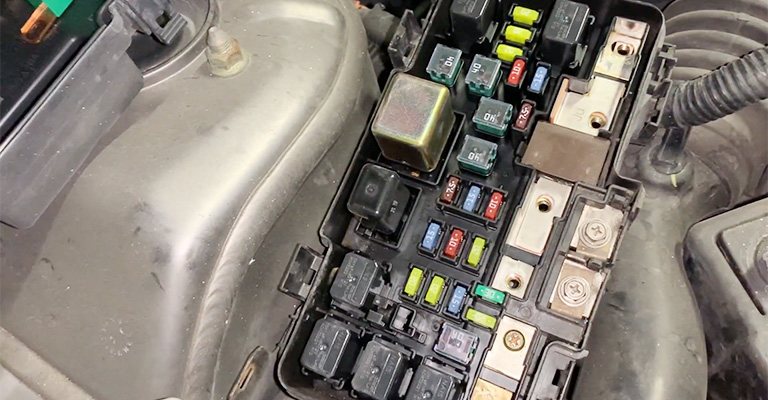
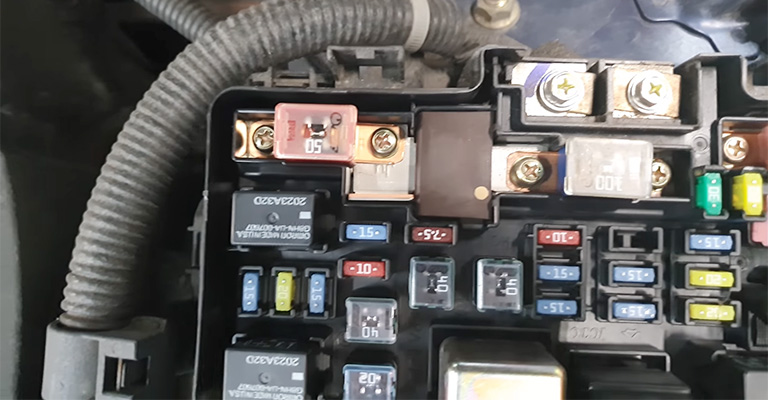
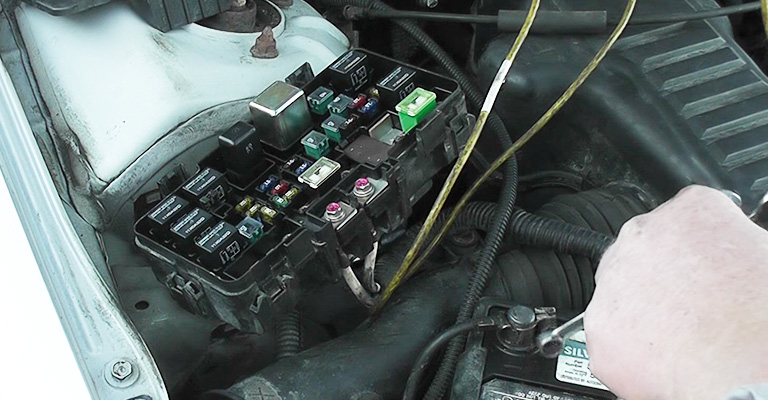
The Honda Electronic Load Detector (ELD) is a component in certain Honda vehicles’ electrical systems that monitors the alternator’s electrical load and adjusts its output accordingly.
The ELD is typically located in the engine compartment, close to the battery and alternator. The ELD works by sensing the current flow through the alternator and sending a signal to the vehicle’s Engine Control Module (ECM) or Powertrain Control Module (PCM) to adjust the alternator’s output voltage.
This allows the alternator to produce the optimal amount of electrical power needed to meet the vehicle’s electrical demands while also helping to conserve fuel and reduce emissions.
The ELD is particularly important in Honda vehicles with fuel-efficient engines, such as hybrid and electric models, as it helps optimize electrical power use and minimize energy waste.
If the ELD fails, it can cause various electrical issues in the vehicle, including dimming headlights, a weak or dead battery, and other electrical component failures.

Honda ELD – Electrical Load Detector Charging System Diagnostics
Engine control systems have become a part of every aspect of today’s cars, including the charging system. When an engine drives any device, some load level will be exerted, resulting in changes in the emissions leveling out the tailpipe.
It is now possible with the PCM to maintain a more precise control level and reduce those emissions. Our engines have groaned when an alternator struggles to keep up with a low battery or an extended load on them.
In those days, alternators had to maintain a constant output level regardless of whether they were being used. The cars of today are a lot smarter than they used to be. It’s their job to know when you need extra assistance and when it is not needed.
In response to this problem, Honda came up with the ELD (Electrical Load Detector). Electric load detectors (ELDs) have been used in Honda vehicles under the hood since the early 1990s.
Through this unit, the battery’s current level can be read directly from the battery, which then feeds a varied voltage signal onto the PCM, which regulates the alternator’s field signal.
The ELD has three wires, with a primary voltage lead, a primary ground, and a load output lead. Not the ELD, but the alternator is connected to the PCM. During normal operation, the ELD monitors the amperage requirements and instructs the PCM accordingly.
The theory behind this technique is to reduce engine load during certain conditions and thus improve fuel economy. Variations in these conditions can be found from vehicle to vehicle.
Such as; an electrical load (usually below 15 amps), vehicle speed (between 10-45 mph or at idle while in the drive), engine speeds below 3,000 rpm, coolant temperature above 167°F (75°C), the A/C system off, or the intake air temperature is above 68°F (20°C).
A major complaint from Honda owners nowadays is flickering headlights or park lights. As often as I see it, it’s a common issue.
For information about the problem, you should consult the TSBs after you have eliminated any contributing factors, such as the battery and battery connections.
The Honda Service Bulletin Explains It This Way

Symptom: The headlights dim when the engine is running with the headlights on or DTC P1298 [electronic load detector circuit high voltage] is logged in the ECM/PCM (but the headlights do not dim).
Probable Cause: The ELD has a faulty solder joint.
Solution: The fuse/relay box under the hood needs to be replaced.
Some older models can be replaced with LEDs. However, some newer models cannot. However, as much as I may be able to remove the ELD from the fusebox, it is not a serviceable part.
I’ve often contacted the dealer and found the part was unavailable unless I purchased the entire fuse box. As a result, there are even more problems to fix besides the charging system and flickering headlights.
It is necessary to reset everything from idle relearn to clock reset to radio theft codes to the auto feature on the driver’s window.
Auto window feature procedure: (You can completely lower the driver’s window by touching the second detent on the power window switch (AUTO down).
Keep the switch in AUTO down for two more seconds after the window reaches the bottom. If you want to raise the driver’s window all the way without stopping, you should press the driver’s power window switch.
The switch should remain in the up position for another 2 seconds after the window reaches the top of the window.
You may need to use this power window control unit reset procedure again if the AUTO function does not work.) (It’s important to remember this when preparing an estimate for your customer.)
So How Does It Work?

ELDs work as current transformers responsible for monitoring how much current the vehicle is drawing from the battery. There are various electrical devices that you can turn on that affect how much power is used (varies depending on what has been turned on).
To provide the ECU with the best voltage output, the ELD will vary the output between .1 and 4.8 volts. By measuring the reference voltage, the ECU knows whether to increase or decrease the alternator field strength.
Today’s automobiles continue to pay close attention to voltage levels, but amperage drawn across a wide range of systems is monitored even more closely than in the past. Depending on the current ramping up or down, the ELD appropriately adjusts the output voltage to the PCM.
Consider the case of a flickering headlight. There is typically a low idle or near idle condition associated with this. Here, the ELD has determined that there is no need to increase the alternator output, so primarily the battery powers the headlights.
As the current increases, the ELD begins to send a corresponding signal to the PCM, which increases the field signal to the alternator.
Nevertheless, if the vehicle isn’t under any additional load, the ELD will detect that, lowering the need for alternator output. The ELD is working overtime observing and measuring the current draw due to the headlights when the engine is almost idle, hence the flickering… on and off, and on and off.
By pulling the fuse box and removing the lower cover, I could fake out the ELD with a resistor between 1k and 820 ohms (to check the wiring, alternator output, etc.).
After removing the lower cover, you can see the ELD unit’s three leads. To install the resistor, you’ll need to cut the lead from the PCM and place it between it and the ground lead.
It is a method that should be used as a last resort, but it is effective. A scanner that functions like a cutter is the better way to avoid cutting leads.
In every situation, there are more ways to solve the problem and even more ways of diagnosing it.
Final Words
Honda’s ELD plays a fundamental role in ensuring the effective and reliable operation of the electrical system in its vehicles and should be regularly maintained and serviced.

Leave a Reply