Headlights should be adjusted every time the vehicle is serviced; remember to tighten or replace screws as needed.
Improperly tightened screws can cause light beam distortion and decreased visibility at night – take care when handling them.
Always center headlights in their sockets before adjusting for optimal viewing conditions.
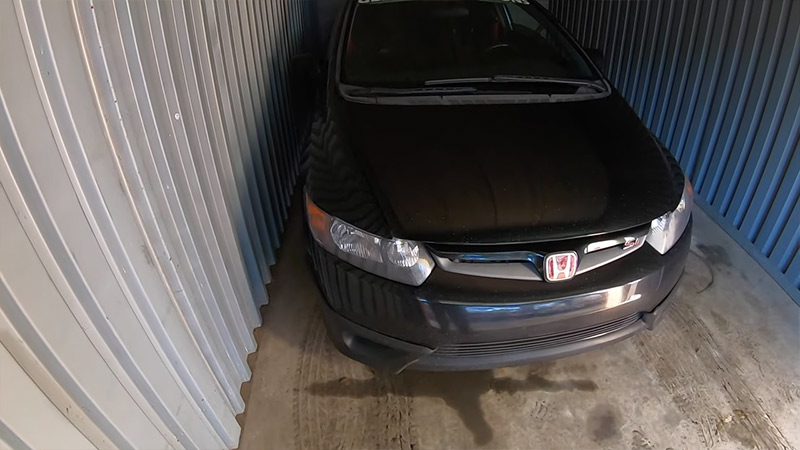
How To Adjust Honda Civic Headlights?
You can increase the efficiency of your Honda Civic’s headlights by aiming them for proper light coverage on the road. When driving on poorly lit roads or in shallow light conditions, it is best to adjust the lights to provide the most extended and comprehensive coverage.

The lights should be adjusted so that they do not shine in the eyes of drivers approaching you. Taking your time will pay off in the end, even if you must make many minor adjustments.
Step 1
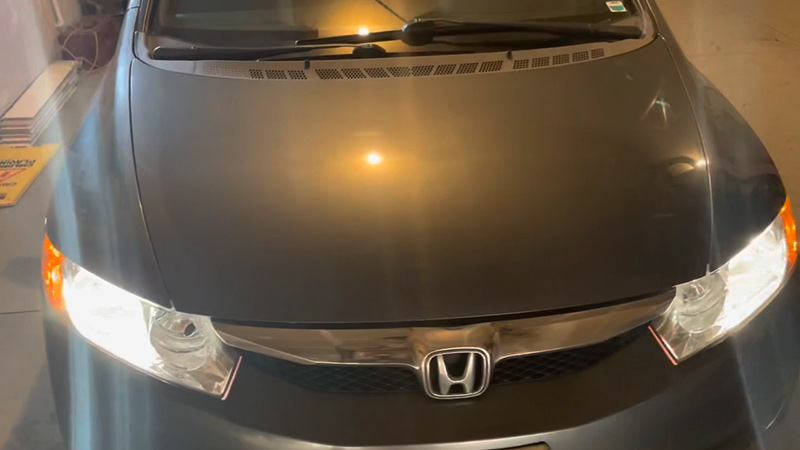
You can see the headlights on a wall after dark outside. Make sure you do not carry any objects that are not used daily, such as heavy machinery or special equipment, with you.

Step 2
Ensure your vehicle is parked on an even surface facing a wall or garage door. The car should be positioned close to the wall or garage door.
Step 3
Make sure the headlights are on. Use masking tape to section off the horizontal center lines of the headlights, guiding yourself by the axis of symmetry.
Step 4
When measuring behind the vehicle, stand at the centermost point of the car to get the most precise results. Make sure the vertical dead center is marked through the back window with the assistance of an assistant.

Step 5
If your car is parked in a garage or wall, reposition it within 25 feet of it. Ensure your vehicle remains on a straight line and adjust the intensity zone of your low beams while maintaining a straight line.
You can raise and lower the beam by turning the top and adjusting the screws clockwise. You can change the beam left and right using the side adjusters. Before stopping, the intensity zones must be set two inches below and to the right of the taped center lines.
Final Step
Changing the brightness is done by turning the mechanical gear on the back of the headlight. This way, the beam angle can be adjusted up or down as needed.
An 8mm fitting is also available on the back of the headlight for accessory adjustments. Make sure they are vertically centered but below the lines. Your marker will be the center lines.
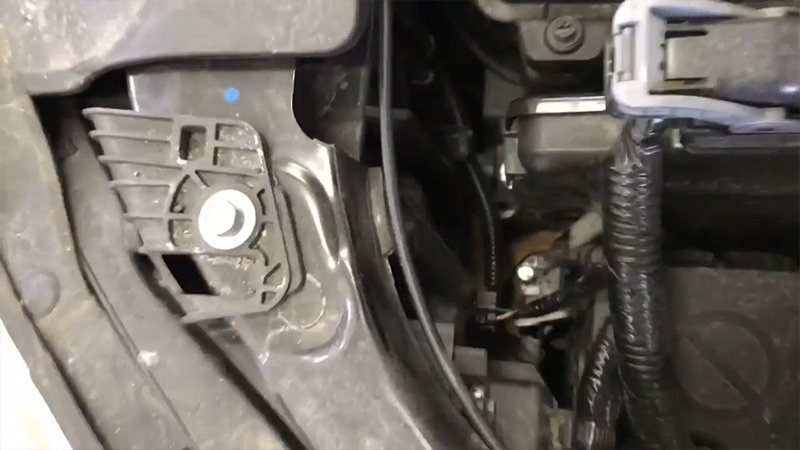
Locate Headlight adjusting screws
Honda Civic headlights can be adjusted to improve the visibility of your vehicle at night or in poor weather conditions. Headlight adjusting screws are typically located on each side of the headlight assembly and may need to be loosened before adjustment is possible.
Ensure all wiring connections are secure before adjusting headlights; improper connection could result in light loss or an electrical fire hazard. Once headlights have been appropriately adjusted, it is essential to check them regularly for wear and tear to perform optimally under various driving conditions.
If you experience difficulty with your Honda Civic headlights, please consult a professional mechanic who can assist you with proper adjustment and maintenance.
Tighten or replace headlight adjusting screws as needed
If your Honda Civic headlight adjusting screws are loose, you can tighten them by hand. You may also need to replace the screws if they become worn or damaged over time.
Headlight adjustment screws are located on both sides of your car’s headlights and vary in size and shape. Make sure to measure the distance from each screw before tightening it down securely with a wrench or pliers so that everything lines up correctly afterward.
Be careful when working with headlight adjusting screws – improper adjustments could cause damage to your vehicle’s lights.
Centre headlights into the sockets on your car
Centre your car headlights into the sockets on your Honda Civic. To do this, you will need to adjust the headlight beam alignment screws located near each side of your vehicle’s dashboard.
Once these are adjusted, gently move the headlights toward the center of their sockets to ensure a clear view while driving at night or in low-light conditions. If you have difficulty centering your headlights, it may be due to incorrect installation or damage done during transport and reassembly of your car after purchase – consult a mechanic for help.
Remember that changing or adjusting headlight beams can decrease fuel efficiency; take care when performing this task to avoid unnecessary costs.
Turn the ignition switch to the “ACC” (or “On”) position.
Honda Civic headlights can be adjusted by turning the ignition switch to the “ACC” (or “On”) position and holding down the button while turning the headlights slowly in one direction until they stop moving, then turning them the other way.
To adjust your Honda Civic headlight bulbs, start with the car in park and turn off all of your lights before adjusting your headlights using this method. Suppose you have a HID or LED projector headlight system. In that case, three basic adjustment techniques work with most models: direct comparison (where you aim each light at a fixed distance), side-by-side comparison (where both beams are aimed at eye level), and aiming from below or above.
When installing new headlights on a Honda Civic, use only high-quality parts from trusted sources like JAGS Headlights. Use the vehicle selector tool to find compatible parts for your model year. Don’t forget to reset your parking brake when changing any auto lighting components.
To Recap
Headlights on a Honda Civic can be adjusted in several ways, depending on your needs. You may want to adjust the headlights for brightness or focus, change between high and low beams, or turn off the headlights completely.
These adjustments are easy to make with just a few simple steps.