A car window deflector blocks the sun’s harmful rays so the driver can remain comfortable. Furthermore, the visors deflect hail and rain. In high-speed situations, the visor deflects wind to make the vehicle travel more efficiently.
Several colors are available for the visors, but they are usually black. You can choose whichever color you want to match your vehicle. A visor keeps the driver and passengers comfortable in the cab, whether mounted on the door shell or inside the window channel.
How To Install Rear Window Visor?
Step-by-step instructions for installing a rear visor.
- A clean, dry cloth should be used to wipe down the mounting surface. Using any glass product may weaken the adhesive tape; the mounting surface should only be cleaned with water or alcohol.
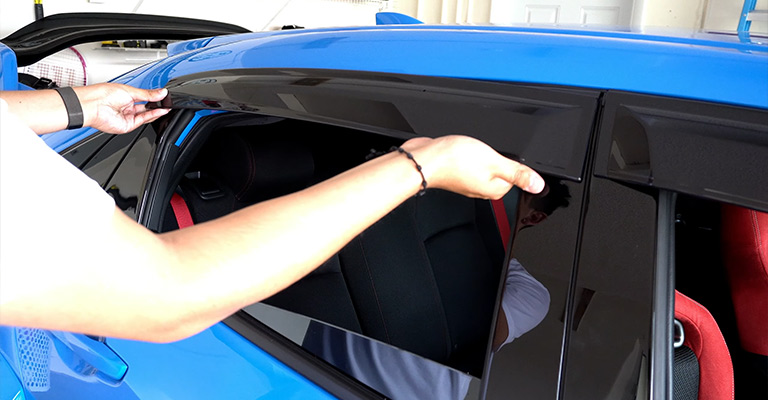
- Peel back the protective backing off the mounting tape approximately two to four inches away from the center of the tape. The top edge of the visor should be aligned with the top corner of the visor and lowered so that the corners line up. To hold the backing in place, you must remove the backing on both sides of the piece.
- It is now time to remove the rest of the backing from the visor by pulling it outwards from the center after it has been lined up. Ensure that all the edges of the sheet are aligned correctly before pressing it down firmly.
- You will need to tuck in the brackets and place them 10 to 12 inches apart from the midpoint of the rear visor. This bracket has the tape side facing the glass while the foam side faces the rear visor so that the tape side faces the glass.
- That’s it. Have fun!
Note: Ensure the mounting tape has cured for at least 24 hours before washing the car.
Measure And Mark Window Location
Mark the window location on the wall with a pencil or some other temporary marking tool. Measure from the bottom of your window frame to where you marked it, and note that measurement, too.
Now, use a level to measure up from the bottom of your frame, making sure to add an extra inch for any trim around your window edge (especially important if you install vinyl windows).
Draw a line connecting these two points and cut along this line with scissors – be careful not to cut into your framing. Finally, place brackets at each end of this cutting line and screw them in using a screwdriver/nails.
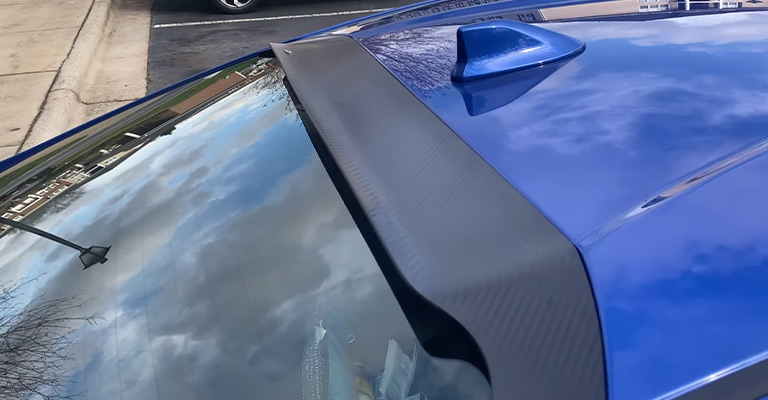
Level Visor Before Screwing Into Place
Visors are a great way to clear your rear window during inclement weather. Make sure the visor is leveled before screwing it into place. Check for any obstructions and adjust as necessary before tightening the screws.
Visors come in different shapes and sizes, so choose one that will fit your window correctly. Once you have installed the visor, ensure it is secure using a sealant or glue if needed.
Attach Trim Around the Edge Of Windows With Nails Or screws.
It is important to measure the window before you start. Use Trim around the edge of windows with nails or screws to attach it properly and keep your view unobstructed. You can also use a drill bit if needed; ensure the hole is not too big to impair visibility.
Once you have attached the Trim, recheck it for accuracy before caulking all joints where necessary. This will ensure a watertight seal against the elements and prevent drafts from entering your home through cracks in the door frame, etcetera.
Finally, clean up any debris using a vacuum cleaner and dry off the entire surface with a cloth – this will avoid damage caused by dirt, leaves, etc., when applying paint/coating in the future.
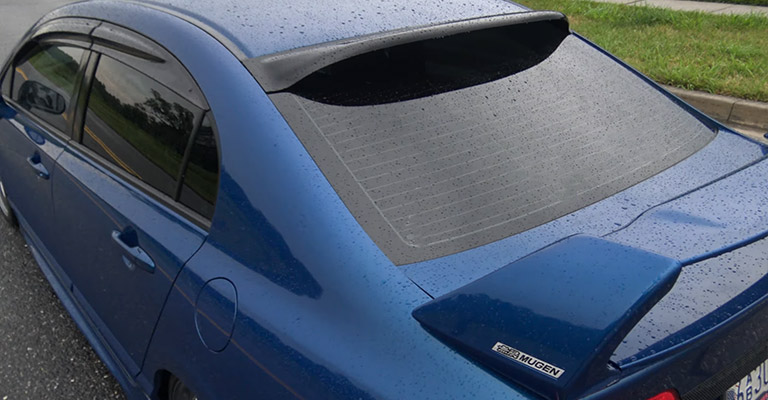
What Is a Rear Visor?
When the weather heats up, keeping your car cooler is essential. Rear-view mirrors reflect a lot of sunlight, making it difficult to see in the rear-view mirror while driving at night or during bad weather conditions.
A visor on your car will reduce glare and help you see better behind you without using bright headlights or turning on your high beams unnecessarily. It also protects your interior from excessive sun exposure that can cause fading, cracking, and even water damage over time.
And if all else fails–a visor makes a great conversation starter when meeting new people. Also, it shouldn’t cause any noise.
Made of 100% reinforced acrylic, rear visors stay cool and protected all summer long – perfect for cars that spend plenty of time parked outdoors. Get a rear visor today – it will keep you cool this summer.
To Recap
Installing a rear window visor is an easy DIY project that can make your car more secure and reduce the amount of glare you experience while driving.