The rugged allure of an All-Terrain Vehicle (ATV) is undeniable, designed to conquer the roughest trails and off-road adventures.
Yet, as the miles accumulate and the elements take their toll, the plastic components of your trusty ATV can lose their luster, succumbing to the relentless forces of nature.
Body and windshield plastic can become scuffed by boots or passing debris, resulting in cracks.
If your ATV’s faded plastic needs to be restored to look like a showroom model again, there are a few options available to you. There are several alternatives available, but they differ both in price and in difficulty.
Using this guide, you can restore the appearance of your ATV to its original state. You will find some suggestions on how exactly you can restore plastic on an ATV in this article.
How Do You Rejuvenate Plastic On An ATV?
There is a wide range of ways to restore your ATV when it comes to removing discolored plastic, each resulting in different results.
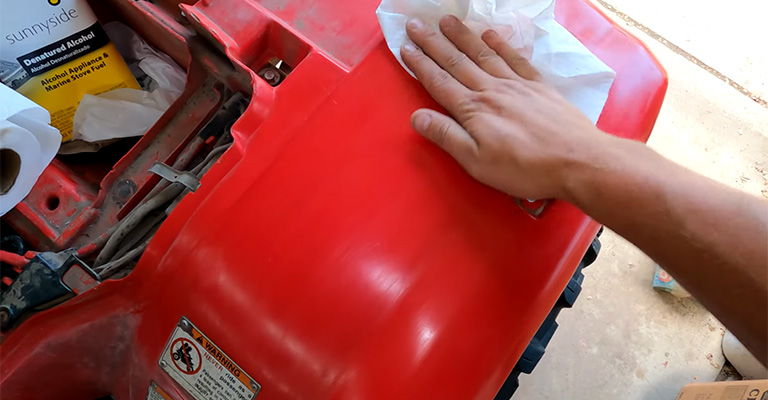
Therefore, we have actually listed the various methods below so that you can get the most out of them at the same time. If you intend to restore your ATV plastic, make sure it remains clear before you begin. Use Dawn dishwashing fluid to thoroughly clean the ATV.
Dawn is effective at removing grease and oils from surfaces. After that, let the maker completely dry. It is also necessary to sand its plastic surface if it has scratches.
1. Boiled Linseed Oil For Faded Plastic
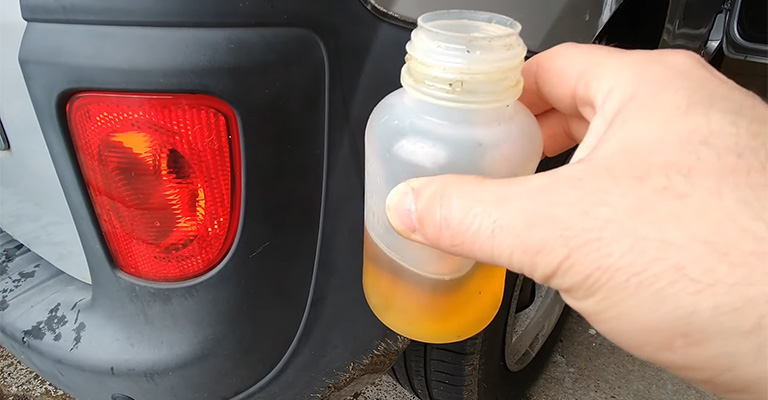
Fading plastic can be restored with linseed oil, but it takes a long time to dry. Boiling linseed oil is what you want instead. It doesn’t mean you have to boil your own linseed oil!
This means the linseed oil has been pretreated in order to dry faster. The quickest way to speed things along is to mix paint thinner with boiled linseed oil. Paint thinner and linseed oil should be mixed at a 40/60 ratio.
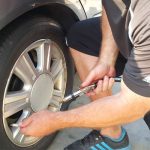
You should begin by thoroughly cleaning your ATV. Remove the rack from the machine as well as any other parts that cover the plastics for best results.
Use a dry cloth to apply the mixture to your plastics. When you apply linseed oil, you’ll observe that the oxidation causing the fading will disappear. The mixture should be applied to all the plastic and then allowed to dry for one day.
As long as you don’t use your ATV every day and keep it covered, this fix will last for a few months. It may be necessary to repeat this treatment every 4-6 weeks if you are constantly using your ATV outdoors.
2. Using A Heat Gun To Restore ATV Plastics
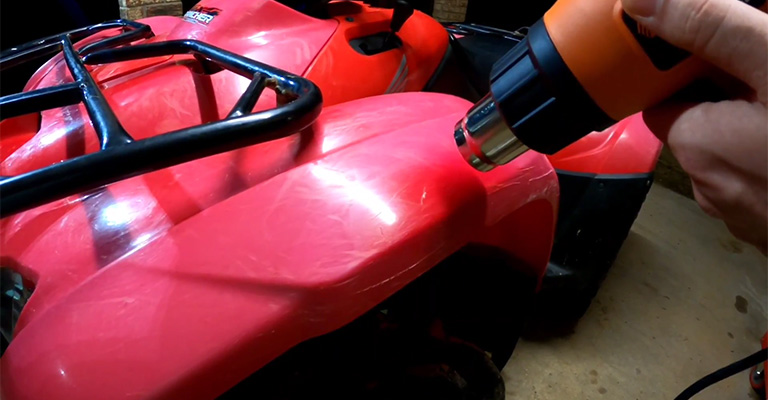
When it comes to making plastics look new, a heat gun works well, but it has some downsides as well.
This procedure is performed by blowing hot air from a few inches above the plastic that has problems. That’s all there is to it—the plastic now looks like new.
However, we do not recommend this option. Plastic becomes more brittle as a result of melting the top layer. Your plastics lose strength every time you use a heat gun to restore them.
In order to get rid of small cracks in plastic, we suggest using a heat gun. Cracks that are severe, however, require replacement.
3. Using Liquid Wax To Restore Faded ATV Plastic
Make sure you remove the racks and skid plates from your ATV so you can get to its plastics. It is possible that you will have to replace them entirely if any of them are severely damaged.
If you want your plastics to complement your better-looking plastic racks, you might want to sand or strip them or paint them with bedliner spray.
Next, give the ATV a good cleaning. The grease and oil will be easily removed from the surfaces using a mixture of dishwashing liquid and water.
The plastic needs to be prepared for waxing now. The plastic needs to be sanded with fine sandpaper, starting with the lowest number and working your way up.
If you want to speed up the process, use an oscillating tool. After that, sand the surface with steel wool while wearing safety gloves.
The plastic should be waxed with a vinyl floor liquid wax using a car wax application tool. By applying thin coats to the plastic, you can work on one section while another dries.
Several coats will be required, with each coat buffed out. To add an extra layer of sheen, finish with an automotive wax after the final coat is complete and bone dry.
While this process requires more work than the linseed oil and paint thinner fix, the results are usually more long-lasting.
4. Plastic Restorers
Plastic restorers can be used instead of linseed oil and paint thinner mixtures or vinyl liquid waxes.
There are a lot of great products on the market. However, many of them are basically variations of our options above with slightly different chemical compositions.
5. Paint
Our last approach focuses on restoring ATV plastic using an option considered to be one of the best.
Whenever you notice that your ATV is discoloring, you can always repaint it to fix the problem.
If you want the best results, you should apply a primer coat and a safety top layer before using spray paint on ATV plastic.
Painting is not permanent as well as fades over time, like a lot of recovery methods.
The plastic, however, can be reapplied whenever it begins to discolor, making it more durable than various other repairs.
About ATV Plastic
We also call it bodywork. ATV plastics are the external panel for any ATV and make up the protective element of any all-terrain vehicle.
You can use a variety of plastics for your ATV. It builds up the following part of your vehicle,
Fenders, side panels, radiator shrouds, airbox, hoods, front grills, seat bases, and covers, fuel tanks, cargo racks, and handguards.
You can say, almost 80% of your ATV is built of plastic. Manufacturers can use any kind of ATV plastic mentioned below.
1) HDPE: Full form is high-density polyethylene. HDPE serves widely in the plastic industry due to its high durability. It builds up the fenders, racks, and other body panels of your ATV.
2) ABS: Acrylonitrile Butadiene Styrene, in short ABS, is for the most sturdy parts of your ATV – side panels. It is lightweight and successfully maintains your ATV balance.
3) PP: You also know it as polypropylene. ATV builders often use PP for flexible parts like seat bases and covers. It’s lightweight and resistant to chemical damage.
4) TPO or TPE-O: Known as, thermoplastic olefin. They are best for strong impact resistance, low density, as well as solid chemical resistance. TPO is more durable than conventional PP copolymers and usually used for ATV bumpers and dashboards.
Now, the ATV plastics shield your ride and you from rocks, dirt, and debris. The longer you ride, the more likely you will need replacement plastic, whether it is for wear and tear or simply a dull appearance.
A new set of ATV panels can convert your quad into a whole new factory fresh-looking 4-wheeler. Plus, you can also personalize your ATV with illustrations to highlight your preference.
Frequently Asked Questions
1. Can You Use Polishing Substances On Plastic?
If the dull areas of the plastic or metal still require polishing, apply just enough plastic or metal polish to cover them and buff with a clean, dry cloth in a circular motion.
Eventually, the plastic will shine like new, even if you have to repeat the process several times.
2. Can You Buff Scratch Out Of ATV Plastic?
When it comes to removing light scrapes, I have discovered that 1500 Grit Wet Sandpaper works the best.
After you have finished buffing out the scrapes, simply utilize the sandpaper over them. In order to make it look new, you can coat it in the plastic restorer discussed above.
3. Can I Use WD 40 On Plastic?
The WD-40 Multi-use product works great with most plastic surfaces that have been exposed to direct sunlight outdoors, so it can also be used on outdoor furniture.
There are very few surfaces where WD-40 multi-purpose products can be used, including polycarbonate and clear polystyrene plastics.
4. What Can I Use To Brighten Plastic?
Plastic can be brightened with toothpaste or sodium bicarbonate, both of which function as light abrasives.
When you have deep scratches or blemishes on the plastic, apply non-gel toothpaste directly to the surface and buff it with a cotton cloth or microfiber in circular motions.
5. How Do You Sand And Also Polish An ATV Plastic?
Wet fining sand prevents plastic bursts very easily. You should just sand the bad areas and deep scratches with the 180 grit. Once they have gone away, use 220 on the entire vehicle. Make sure the scratches are gone and the shade is all over.
Last Words
Plastics are not sustainable like metal. Your ATV plastic body is bound to decay after a certain time and under rough use.
Replacement might not always be a budget-friendly solution. That’s why it is important to know the techniques of restoration.
You can apply any of the options mentioned above to restore damaged ATV plastic. In case you are still in trouble, feel free to leave us a comment below.