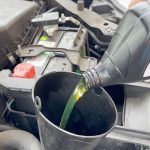
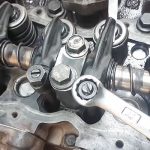
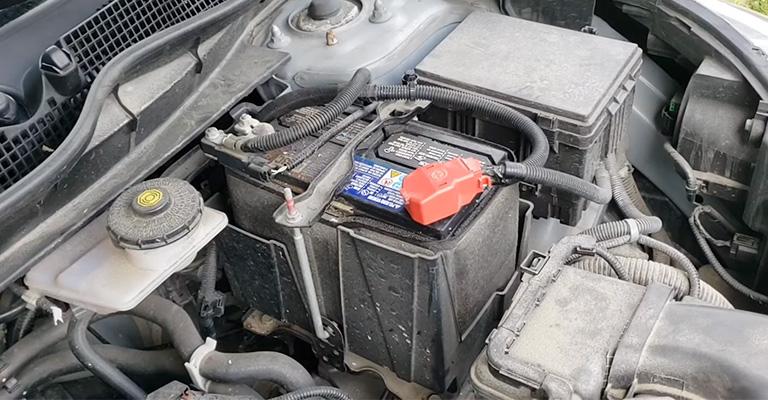
You’ve probably already experienced an oil leak or will find it one day. Identifying and fixing the problem usually takes under an hour, but it may take longer in some cases.
If you see a leak in your car, consider fixing it yourself instead of taking it to your mechanic. However, before you send your Honda to the mechanic, this guide will explain how to spot and fix the most common Honda oil leaks.
Is An Oil Leak Serious?
Oil leaks causing your engine to run dry are the most critical. Do not start your engine if you see a large puddle on the ground.
Having insufficient oil can damage your engine permanently, requiring an engine rebuild or replacement to repair.
The Most Common Causes Of Oil Leaks On Honda Accord
A Honda’s oil leak can be caused by several things, such as oil filters, drain plugs, valve cover gaskets, and oil pans. We have compiled a list of the most common causes of burning smells and leaks to help you identify your problem area and determine where the problem originated.
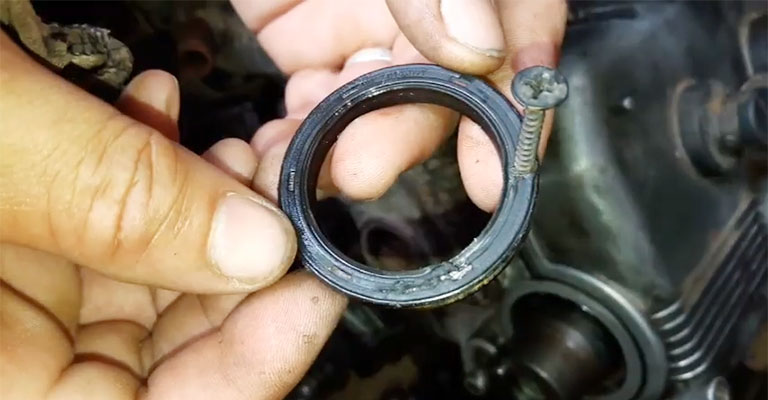
1. Camshaft Seals
Camshafts and crankshafts are kept in sync by a timing belt, so camshaft seal leaks are common. During engine operation, a camshaft seal prevents oil from leaking out of each camshaft.
Under the valve cover, you will see oil if the camshaft is the source of the leak. In addition, the engine bay will smell burning and smoke if there is a leak from this component.
2. Timing Cover Gasket
Modern vehicles have timing chains protected by gaskets rather than timing belts found on older cars. Timing cover gaskets wear out over time, like many other Honda car parts.
Oil may start to escape from the timing cover if the gasket wears down over time. However, gaskets are not always the source of leaks; timing covers can be themselves.
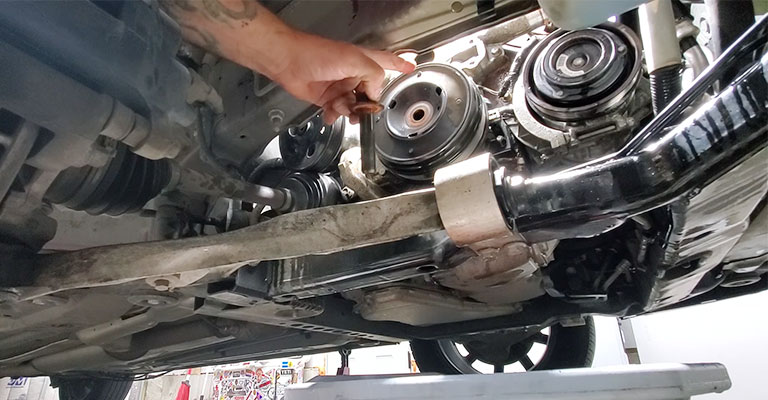
3. Crankshaft Seals
It protrudes slightly from both ends of the engine and is an integral component of the engine. Both ends of the crankshaft are sealed to prevent oil leaks from the engine.
In addition, there are two main seals on either side of the engine, known as the front and rear main seals. When oil leaks from the crankshaft seal, it accumulates on the underside of the engine, whereas if it is a significant leak, oil can be visible at the front.
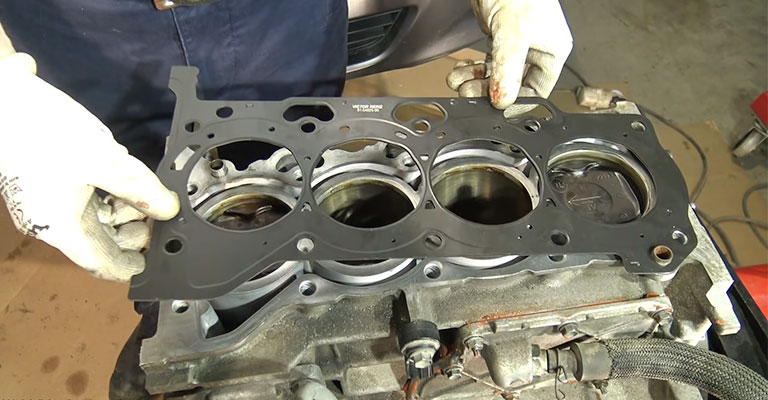
4. Cylinder Head Gasket
It is more common for cylinder head gaskets to leak oil internally, but they can also leak externally. Therefore, there will be issues with coolant consumption and coolant-oil intermix if there is a leak in this area.
5. Oil Pan Gasket
Likely, oil leaks most frequently from the oil pan gasket since this part provides a seal between the oil pan and the engine block.
An oil leak can occur if it cracks or gets a hole. This means you need to get a new oil pan gasket as soon as possible.
6. Valve Cover Gasket
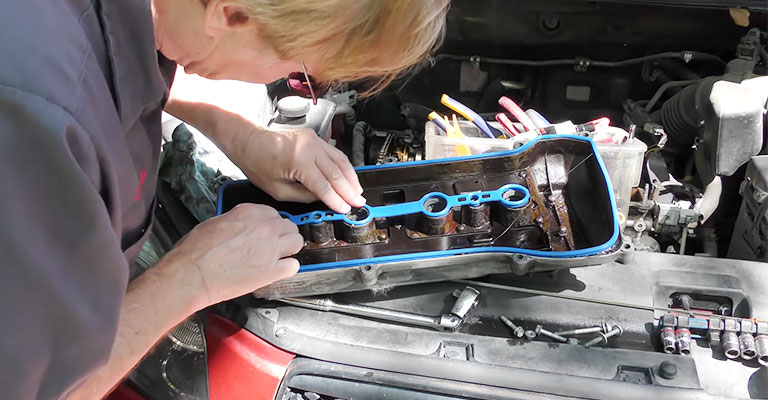
The engine valve cover gaskets are located on top of a car’s engine and protect cylinder head components. Seals are provided between the valve cover and the cylinder head by valve cover gaskets.
With time, this seal will wear down and become less effective at keeping the oil inside, resulting in leaks. In addition, getting oil on spark plugs can result in ignition system problems if the valve covers the leak. It might need a replacement.
7. Filter And Plug For The Oil Drain
The oil can escape from a loose oil drain plug and cover your driveway if it has not been reattached properly. In addition, during the last oil change, the seal on the oil filter could have been damaged or improperly fitted.
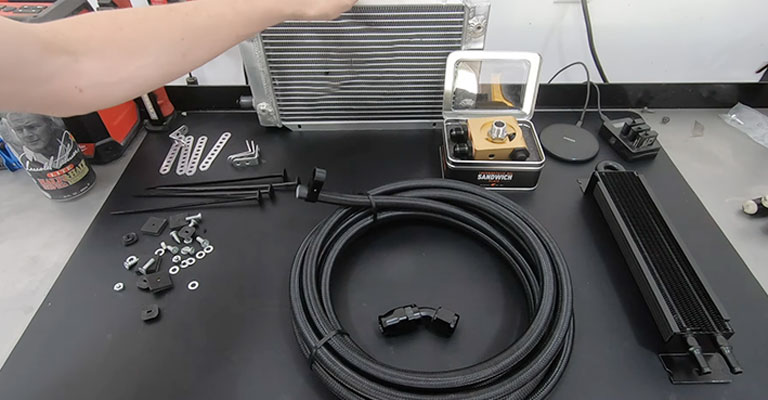
8. Linings For Oil Coolers
The front of many vehicles consists of a small radiator-like device called an external oil cooler. Before returning the hot oil to the engine, these parts cool it down. An oil leak may occur if the lines leading to and from the cooler are corroded.
The Importance Of Regular Oil Changes Is Often Overlooked
The purpose of an oil change is not just to keep your engine lubricated. A motor oil change is one of the most important services you can provide for your car since it removes dirt and grime accumulated over time. Old, dirty oil can cause corrosive sludge in your car, so make sure your car is equipped with clean oil.
On the other hand, if you neglect to replace the oil in your engine, the dirt inside your engine can gradually erode valves and seals. As a result, under your vehicle, you may notice a puddle of oil once those items have been damaged.
How To Spot An Oil Leak From Your Honda?
Your Honda vehicle will usually leak oil if there is an oil leak. For example, the oil may leak from under the car or the engine’s valve covers.
It’s possible that if you see smoke under the bonnet, the oil may have leaked onto the exhaust manifold. It is important to check the dipstick regularly to determine if the oil level is dropping. You may be losing oil somewhere if they are.
Oil leaks can be identified and their causes by a professional mechanic. In any case, you should be able to diagnose a problem yourself so you can drive your car safely to a mechanic. To avoid your vehicle breaking down or developing other problems, you should fix a leak as soon as possible.
How To Fix An Oil Leak On Honda?
It’s time to discover how to fix an oil leak on your Honda Accord or other Honda models now that you understand the causes of leaks. You can stop your vehicle from leaking oil by following our simple step-by-step instructions below.
1. Make Sure The Oil Level Is Correct
Your first step should be to check your car’s actual oil levels. This can be accomplished by using the dipstick under the hood.
When you pull it out again, remove excess oil and firmly place it back in the engine to get a read on the oil level.
Using the dipstick, you can indicate where the appropriate oil level is, and you should only fill your oil up to that level.
You might think there is a leak, but there may be too much oil in the system as if the last oil top-up was overfilled. The dashboard engine oil light won’t blink if there are puddles of oil underneath your car, but there are no oil puddles.
2. Find Out Where The Leak Is
Oil leaks can occur in all of the most likely places on your car if your oil levels seem too low or depleted over time. To find out where oil leaks typically occur, refer to our list of common causes above.
3. Make Sure There Are No Loose Bolts
Additionally, it may be a good idea to check the timing belt cover, valve covers, and oil pan for any obvious loose bolts. The oil pan should be the first part of the car to be tightened with a torque wrench.
Follow the oil pan with the timing belt cover and valve covers after determining the oil pan is tight.
A mechanic may be able to assist you in tightening the bolts correctly since each car model requires you to tighten them in a specific pattern and to a certain tolerance.
4. Perform Any Repairs That Need To Be Made
It’s time to make repairs once you’ve identified where the leak is coming from. For example, you can repair loose bolts by following step 3 if they are causing the leak. In addition to replacing oil filters or oil filler caps, a few other minor repairs can be done at home.
It may be necessary to contact a mechanic to install a new gasket if the original was damaged, as replacing a gasket may be difficult if you do not have experience with machinery.
The Bottom Line
Keep up with your car’s regular maintenance to prevent oil leaks from your engine. Your owner’s manual will provide all the information you need about oil changes. In addition, you will find your manufacturer’s recommended oil replacement intervals for your specific vehicle model.

