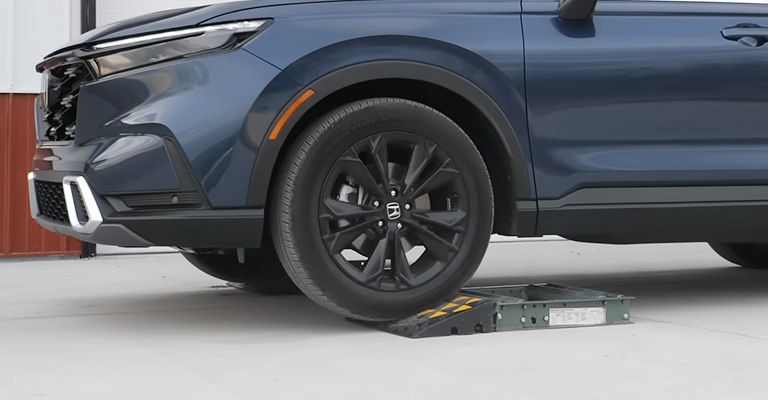
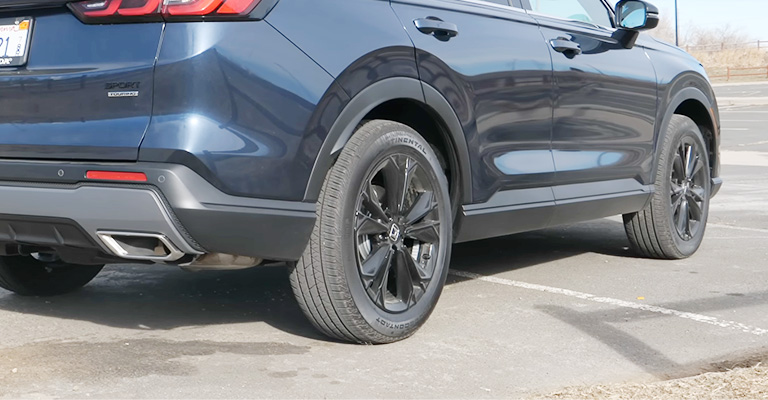
The Honda CR-V is a popular crossover SUV that is renowned for its reliability, practicality, and versatility. One of the key considerations when it comes to modifying or customizing your Honda CR-V is the bolt pattern.
A vehicle’s bolt pattern refers to the number of lugs, the diameter of the circle that the lugs make, and the distance between each lug. The bolt pattern is essential when selecting wheels, tires, and other components designed to fit your Honda CR-V.
In this context, understanding the Honda CR-V bolt pattern is crucial for any Honda CR-V owner or enthusiast who wishes to upgrade or personalize their vehicle. This guide will provide an overview of the Honda CR-V bolt pattern and the important considerations you should consider.

List of Honda CR-V Models and Their Respective Bolt Patterns
Here is a list of Honda CR-V models and their respective bolt patterns:
- Honda CR-V 2.0 (1995-2004): 5×114.3
- Honda CR-V 2.2L (2008-2010): 5×114.3
- Honda CR-V 2.2TD (2006-2007): 5×114.3
- Honda CR-V 2.4L (2006-2010): 5×114.3
- Honda CR-V 2.0 i VTEC (2006): 5×114.3
- Honda CR-V 2.0i (1995-2005): 5×114.3
- Honda CR-V 1997-2001 2.0L: 5×114.3
- Honda CR-V 2002-2006 2.4L: 5×114.3
- Honda CR-V 2007-2011 2.4L: 5×114.3
- Honda CR-V 2012-2016 2.4L: 5×114.3
- Honda CR-V 2017-2021 1.5L/2.4L: 5×114.3
- Honda CR-V 2022-2023 1.5L/2.0L: 5×114.3
Note that the bolt pattern refers to the number of bolts on the wheel hub and the distance between them, measured in millimeters.
A bolt pattern of 5×114.3 means there are five bolts on the wheel hub, and the distance between each bolt is 114.3mm. This is an important specification to know when purchasing new wheels for your Honda CR-V.

Here’s a table that lists the Honda CR-V model names with their respective engine displacements and bolt patterns
| Model Name & Displacement | Bolt Pattern |
|---|---|
| 1997-2001 CR-V 2.0L | 5×114.3 |
| 2002-2006 CR-V 2.4L | 5×114.3 |
| 2007-2011 CR-V 2.4L | 5×114.3 |
| 2012-2016 CR-V 2.4L | 5×114.3 |
| 2017-2021 CR-V 1.5L/2.4L | 5×114.3 |
| 2022-2023 CR-V 1.5L/2.0L | 5×114.3 |
Note that the bolt pattern for all Honda CR-V models is 5×114.3, which means that there are 5 lug bolts and the distance between the centers of any two adjacent bolts is 114.3 millimeters.
Other Fitment Specs You Should Know
In addition to bolt pattern, there are several other fitment specifications that you should consider when selecting wheels for your vehicle.
Here are some of the most important ones
Center Bore
This is the diameter of the hole in the wheel’s center that fits over your vehicle’s hub. It’s important to ensure that the center bore of your new wheels matches the hub size of your vehicle, or you’ll need hub rings to adapt them.
Offset
This is the distance from the hub mounting surface to the wheel’s centerline. A positive offset means the hub mounting surface is toward the front of the wheel, while a negative offset means it’s toward the back. The offset of your new wheels will affect how far they sit inside or outside the wheel well.
Load Rating
This is the maximum weight capacity of the wheel. It’s important to ensure that the load rating of your new wheels is at least as high as the weight of your vehicle.
Tire Size
The size of your wheels will determine the size of the tires you can use. Make sure to choose a tire size that’s compatible with your new wheels and your vehicle.
Lug Nut Type
The type of lug nut used to secure the wheel to the hub is also an important consideration. Different types of wheels require different types of lug nuts, so make sure that the lug nuts you’re using are compatible with your new wheels.
By paying attention to these fitment specifications, you can ensure that your new wheels will fit properly and be safe to use on your vehicle.
Honda CR-V Other Fitment Specs Per Generation
Here’s a table for the other fitment specs of the Honda CR-V per generation
| Generation | Production Years | Center Bore | Offset | Thread Size | Wheel Size Range | Lug Nut Torque |
|---|---|---|---|---|---|---|
| 1st | 1997-2001 | 64.1 mm | ET 45 | M12 x 1.5 | 15 – 16 inch | 80 lb-ft |
| 2nd | 2002-2006 | 64.1 mm | ET 45 | M12 x 1.5 | 15 – 16 inch | 80 lb-ft |
| 3rd | 2007-2011 | 64.1 mm | ET 50 | M12 x 1.5 | 16 – 17 inch | 80 lb-ft |
| 4th | 2012-2016 | 64.1 mm | ET 50 | M12 x 1.5 | 16 – 18 inch | 80 lb-ft |
| 5th | 2017-2021 | 64.1 mm | ET 45 | M12 x 1.5 | 17 – 19 inch | 80 lb-ft |
| 6th | 2022-Present | 64.1 mm | ET 45 | M14 x 1.5 | 18 – 19 inch | 80 lb-ft |
Note:
- The Center bore is the diameter of the hole in the center of the wheel that fits over the hub of the car.
- Offset is the distance in millimeters from the wheel’s centerline to the mounting surface.
- Thread size refers to the size and pitch of the lug nuts used to secure the car’s wheels.
- Lug nut torque is the amount of force required to tighten the lug nuts to the proper specification.
Why Knowing Blot Pattern is Important?
Knowing bolt patterns is important because it determines the compatibility of a wheel or rim with a particular vehicle. The bolt pattern refers to the number of bolt holes and the distance between them on a wheel.
If the wheel’s bolt pattern does not match the bolt pattern of the vehicle’s hub, then the wheel cannot be mounted on the vehicle. Choosing the right bolt pattern is crucial for ensuring the safety and performance of the vehicle.
If the bolt pattern is incorrect, it can cause vibrations, poor handling, and even damage to the suspension system. Additionally, using an incorrect bolt pattern can cause the wheels to come loose while driving, leading to a potentially dangerous situation.
Therefore, it’s important to know the correct bolt pattern for a vehicle and to use only wheels or rims that are designed for that specific bolt pattern.
How do you measure the Honda CR-V Bolt Pattern?
Here are the steps to measure the bolt pattern of a Honda CR-V
Gather the Necessary Tools
To measure the bolt pattern of your Honda CR-V, you will need a few tools, including a measuring tape, a straight-edge ruler, and a bolt pattern gauge.
Remove the Wheel
To accurately measure the bolt pattern, you must remove the wheel from your Honda CR-V. It is important to note that some Honda CR-V models have different bolt patterns depending on the trim level, so you should ensure that you have the correct wheel off your car.
Measure the Bolt Pattern
Hold the bolt pattern gauge up to the bolt holes on the hub and match up the pins with the holes. The gauge should tell you the bolt pattern size in millimeters.
Alternatively, a measuring tape can measure the distance between two adjacent bolt holes. Make sure to measure from the center of each bolt hole, not the edge.
If you have four bolt holes, measure the distance between two opposite holes; if you have five bolt holes, measure the distance between one bolt hole and the one diagonally across from it.
Check for Any Exceptions
Some Honda CR-V models may have exceptions in bolt pattern size depending on the year, trim level, or other factors. It is important to consult your car’s manual or a reliable online source to ensure that you have accurate information.
Record the Bolt Pattern
Once you have measured the bolt pattern, note the size in millimeters. You can use this information to ensure that any aftermarket wheels or tires you purchase for your Honda CR-V fit correctly.
Replace the Wheel
After you have recorded the bolt pattern, you can replace the wheel on your Honda CR-V and tighten the lug nuts to the manufacturer’s recommended torque specification.
How to Tighten Honda CR-V Bolts?
Tightening bolts on a Honda CR-V is an essential task that needs to be done correctly to ensure the safety and longevity of your vehicle. Here is a step-by-step guide on how to properly tighten Honda CR-V bolts:
Determine the Torque Specification
Knowing the torque specification for the specific bolt you’re tightening is important. You can find this information in your vehicle’s owner manual or repair manual. Torque specification varies depending on the bolt’s size, material, and location.
Use the Right Tools
Ensure you have the correct socket or wrench size for your tightening bolt. If the bolt requires a specific torque specification, use a torque wrench to apply the correct amount of pressure.
Clean the Bolt and Threads
Before tightening the bolt, ensure the area around the bolt and the threads are clean and debris-free. This will ensure that the bolt can be tightened to the correct torque.
Tighten the Bolt
Use a socket or wrench to tighten the bolt to the correct torque specification. If using a torque wrench, gradually tighten the bolt until you reach the specified torque. It’s important not to overtighten the bolt, as this can damage the threads or the surrounding components.
Check the Bolt After Tightening
Once you have tightened the bolt to the correct torque, double-check to ensure it’s tight and hasn’t come loose. This is especially important for critical bolts such as suspension bolts or bolts that hold the wheels to the vehicle.
Exceptions:
- If you have aftermarket wheels, the torque specification may differ from the OEM specification. In this case, use the manufacturer’s recommended torque specification for the wheel.
- Some trim levels may have different torque specifications, so make sure to consult your vehicle’s owner manual or repair manual for the correct torque specification.
Overall, it’s important to take your time and carefully follow the torque specification when tightening bolts on your Honda CR-V. This will help ensure your vehicle remains safe and reliable on the road.
Final Words
Knowing the bolt pattern and other fitment specifications for your Honda CR-V is essential when it comes to upgrading or replacing your wheels or tires. The bolt pattern determines the compatibility of the wheels, and other fitment specs, such as the center bore, offset, and diameter, are equally important.
Following the correct procedures when measuring the bolt pattern and tightening the bolts is important to ensure proper fit and avoid potential safety issues.
By using the correct torque wrench and tightening the bolts in a star pattern, you can prevent damage to the wheels or suspension components. Always refer to the owner’s manual for specific torque specifications and other relevant information.
Check Other Honda Models Bolt Pattern –


