The Honda Odyssey is a popular minivan known for its spacious interior, comfortable ride, and family-friendly features. When it comes to upgrading the wheels on your Honda Odyssey, one important factor to consider is the bolt pattern.
The bolt pattern refers to the number of bolt holes and their spacing on the wheel hub, which must match the corresponding pattern on the vehicle’s hub for proper fitment.
Knowing the correct bolt pattern for your Honda Odyssey is essential when shopping for aftermarket wheels or replacing a damaged wheel.
Understanding the Honda Odyssey bolt pattern can help ensure that you choose the right wheels for your vehicle and achieve a safe and secure fit.
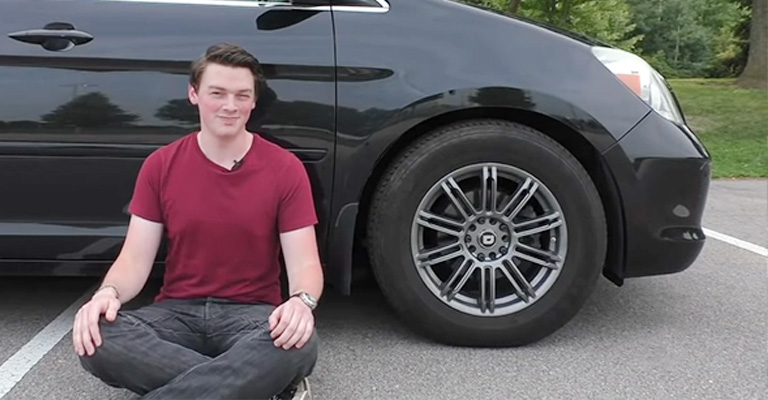
List of Honda Odyssey Models and Their Respective Bolt Patterns
Here are the bolt patterns for various Honda Odyssey models:
- 1994-2007 Honda Odyssey (except 2004-2007 3.5i): 5×114.3
- 2004-2007 Honda Odyssey 2.4i: 5×120
- 1999-2003 Honda Odyssey 3.5i: 5×114.3
- 1999-2003 Honda Odyssey 2.3i and 3.0i: 5×114.3
- 1995-1998 Honda Odyssey 2.2L: 4×114.3
- 1999-2004 Honda Odyssey 3.5L: 5×114.3
- 2005-2010 Honda Odyssey 3.5L: 5×120
- 2011-2017 Honda Odyssey 3.5L: 5×120
- 2018-Present Honda Odyssey 3.5L: 5×120
- 2023- Honda Odyssey 5×120
It’s worth noting that some Honda Odyssey models have different bolt patterns depending on the year and trim level. Additionally, there are some special models of the Odyssey (such as the RA6, RA7, and RA8) that have different bolt patterns as well.
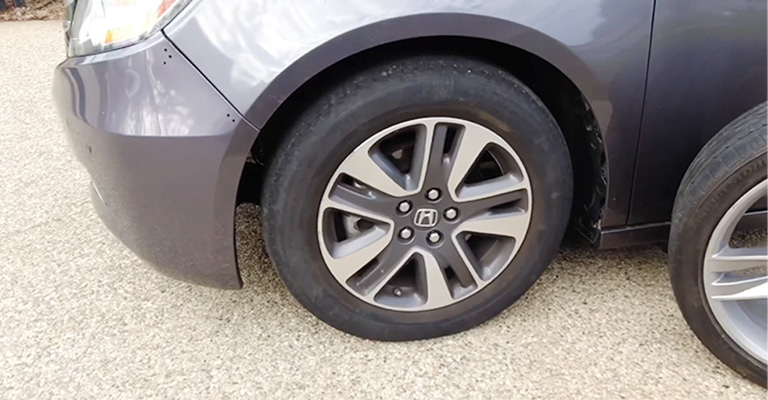
Here is a table showing the Honda Odyssey model names with their respective displacements and bolt patterns
| Honda Odyssey Model Name and Displacement | Bolt Pattern |
|---|---|
| 1995-1998 Odyssey (2.2L) | 4×114.3 |
| 1999-2004 Odyssey (3.5L) | 5×114.3 |
| 2005-2010 Odyssey (3.5L) | 5×120 |
| 2011-2017 Odyssey (3.5L) | 5×120 |
| 2018-Present Odyssey (3.5L) | 5×120 |
| 2023- Honda Odyssey | 5×120 |
Other Fitment Specs You Should Know
In addition to the bolt pattern, there are a few other fitment specifications that you should know when selecting wheels for your Honda Odyssey
Center Bore
This refers to the diameter of the wheel’s center hole that fits over your vehicle’s hub. The wheel’s center bore must match the hub size of your Honda Odyssey. The center bore of the Honda Odyssey is 64.1mm.
Offset
This is the distance between the wheel’s mounting surface and the wheel’s centerline.
A positive offset means that the mounting surface is closer to the outside of the wheel, while a negative offset means that the mounting surface is closer to the inside of the wheel. The offset for Honda Odyssey wheels ranges from +45mm to +55mm.
Load Rating
This refers to the weight that a wheel can safely carry. The load rating for Honda Odyssey wheels is typically around 1,400 pounds per wheel.
Tire Size
The tire size you choose to mount on your Honda Odyssey wheel should match the original equipment tire size or an appropriate alternate size approved by the manufacturer. The recommended tire size for a Honda Odyssey is 235/65R17.
Honda Odyssey Other Fitment Specs Per Generation
Here’s a table of other fitment specs for each generation of the Honda Odyssey
| Generation | Years | Center Bore | Thread Size | Wheel Offset | Lug Nut Torque |
|---|---|---|---|---|---|
| 1st | 1995-1998 | 64.1 mm | M12 x 1.5 | +50 mm | 80-100 ft-lbs |
| 2nd | 1999-2004 | 64.1 mm | M12 x 1.5 | +50 mm | 80-100 ft-lbs |
| 3rd | 2005-2010 | 64.1 mm | M12 x 1.5 | +50 mm | 80-100 ft-lbs |
| 4th | 2011-2017 | 64.1 mm | M14 x 1.5 | +50 mm | 80-100 ft-lbs |
| 5th | 2018-2023 | 64.1 mm | M14 x 1.5 | +50 mm | 80-100 ft-lbs |
Note: Center bore is the hole’s diameter in the wheel’s center. Thread size refers to the diameter and pitch of the lug nuts.
Wheel offset is the distance between the wheel’s mounting surface and the wheel’s centerline. Lug nut torque is the amount of force needed to tighten the lug nuts to the wheel hub.
Why Knowing Blot Pattern is Important?
Knowing the bolt pattern of your vehicle is important for several reasons
Wheel Compatibility
The bolt pattern of a wheel must match the bolt pattern of the vehicle in order for it to fit properly. If the bolt pattern is not the same, the wheel will not fit on the hub, which can result in serious safety issues such as wheel wobble, uneven tire wear, and even accidents.
Wheel Customization
Knowing the bolt pattern is crucial if you plan to change your wheels. You can choose from a wider range of wheel options once you know your vehicle’s bolt pattern. This can help you achieve the desired look and performance of your vehicle.
Upgrading Brakes
Knowing the bolt pattern is important if you plan to upgrade your brake system. Different brake systems require different bolt patterns, and if you don’t match them, you may be unable to install your desired brake system.
Accurate Tire Sizing
Knowing your vehicle’s bolt pattern is also important when determining the correct tire size to fit on your wheels. Tires come in different sizes, and choosing the right size for your vehicle depends on several factors, including the bolt pattern.
An incorrect tire size can cause issues such as poor handling and reduced performance. Overall, knowing your vehicle’s bolt pattern is important for ensuring safety and achieving the desired look and performance.
How do you measure the Honda Odyssey bolt pattern?
Measuring the bolt pattern of a Honda Odyssey is a simple process, and it can be done by following these steps
Gather the Necessary Tools
You will need a measuring tape, a straight edge or ruler, and a bolt pattern gauge or a set of calipers.
Determine the Number of Bolts in the Wheel
Count the number of bolts on the wheel. Most Honda Odysseys have a 5-lug bolt pattern, but some models may have a 4-lug or 6-lug pattern.
Measure the Bolt Circle Diameter
This is the distance between the centers of two opposite bolt holes on the wheel. Use a measuring tape or a straight edge to measure this distance.
Alternatively, you can use a bolt pattern gauge or a set of calipers to measure the bolt circle diameter more accurately. Make sure to measure across the center of the wheel to get an accurate measurement.
Determine the Bolt Pattern
The bolt pattern is typically expressed as two numbers separated by an “x”. For example, a 5×114.3 bolt pattern means there are 5 bolts, and the bolt circle diameter is 114.3mm.
Note that some Honda Odyssey models may have different bolt patterns, so it’s important to check the specific bolt pattern for your vehicle.
Check for Any Exceptions
There may be some exceptions depending on the year, model, and trim level of your Honda Odyssey.
For example, some models may have different bolt patterns for the front and rear wheels or different bolt patterns for different trim levels. Always double-check your vehicle’s bolt pattern to ensure proper fitment of wheels or other components.
By following these steps, you should be able to accurately measure your Honda Odyssey’s bolt pattern accurately.
It’s important to have this information on hand when purchasing new wheels or other components to ensure proper fitment and avoid potential issues.
How to Tighten Honda Odyssey Bolts?
Tightening bolts on your Honda Odyssey is important to ensure that your wheels and other components are secured properly. Here is a detailed guide on how to tighten Honda Odyssey bolts
Gather the Necessary Tools
You will need a torque wrench, the correct size socket or wrench, and the owner’s manual for your Honda Odyssey to determine the correct torque settings.
Determine the Torque Settings
Check the owner’s manual or the Honda website to find the recommended torque settings for your specific model and year.
Loosen the Bolt
Use the correct socket or wrench to loosen the bolt. Be sure to turn it counterclockwise.
Clean the Threads
Use a wire brush or a clean cloth to remove any debris from the threads.
Apply Anti-seize Compound (Optional)
Applying an anti-seize compound to the threads can help prevent corrosion and make it easier to remove the bolt in the future. However, it is not necessary.
Hand Tighten the Bolt
Use your fingers to tighten the bolt as much as possible.
Tighten the Bolt to the Specified Torque
Use a torque wrench and the correct size socket or wrench to tighten the bolt to the recommended torque setting. Be sure to follow the torque specifications for each bolt to avoid over or under-tightening.
Tighten the Bolts in a Crisscross Pattern
When tightening wheel bolts, for example, start with one bolt, then tighten the one directly across from it, followed by the next bolt to the right or left of the first bolt. This crisscross pattern ensures that the wheel is tightened evenly and prevents warping or damage to the brake rotor.
Double-check the Torque Setting
After tightening all bolts to the specified torque setting, check them again with the torque wrench to ensure they are still at the recommended setting.
Note: The above steps are a general guide for tightening bolts on a Honda Odyssey. Some Honda Odyssey models may have specific torque specifications or different bolt-tightening sequences, so it is important to consult your owner’s manual for detailed instructions.
Having a professional mechanic check your work or perform the tightening is also recommended if you are not confident in your abilities.
Final Words
Understanding the bolt pattern and other fitment specifications of your Honda Odyssey is essential for a safe and successful wheel installation. With this information, you can easily find the right wheels that match your vehicle and avoid any issues arising from improper fitment.
It’s important to note that not all Honda Odyssey models have the same bolt pattern and other fitment specs, so be sure to double-check your vehicle’s year, make and model before making any purchases.
Also, always follow the manufacturer’s instructions for wheel installation and tightening to ensure the wheels are properly secured and safe to drive.
Check Other Honda Models Bolt Pattern –

